
Overview of the website interface design (Storefront)
The interface is often considered the face of the website, playing a crucial role in attracting customers at first glance. With GoF&B, you can effortlessly create a custom interface that suits your needs in an easy-to-navigate format..
Step-by-step guide:
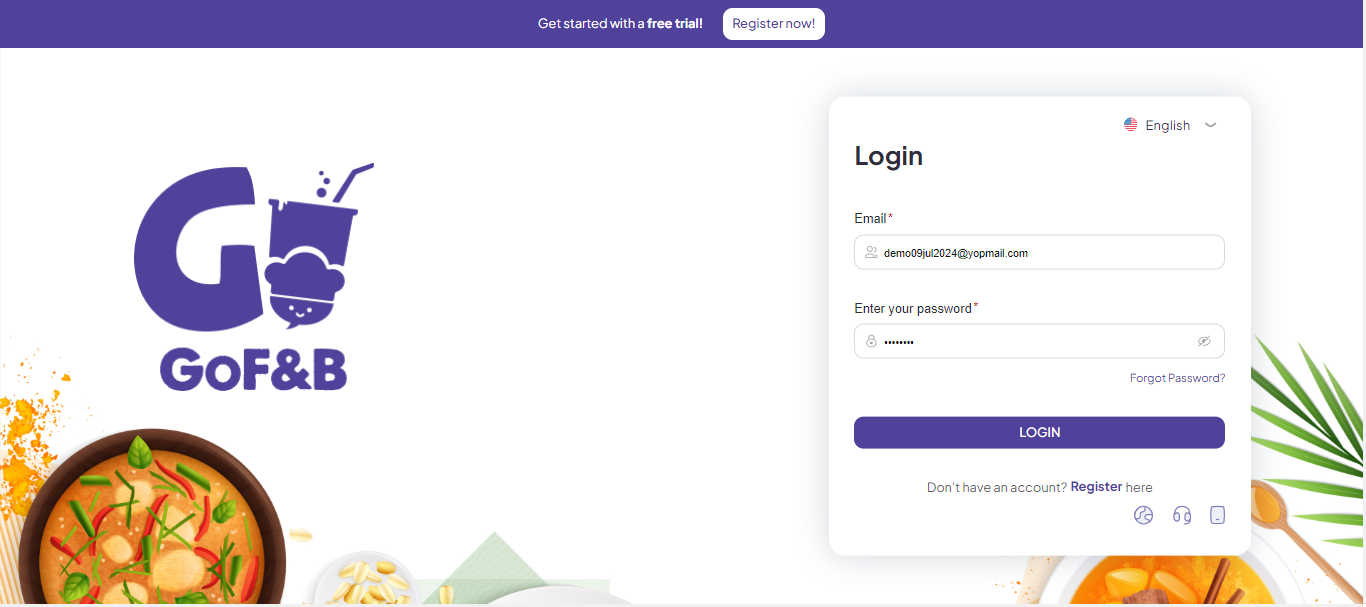
Step 1: Go to the GoF&B admin page (https://admin.gofnb.biz/login).
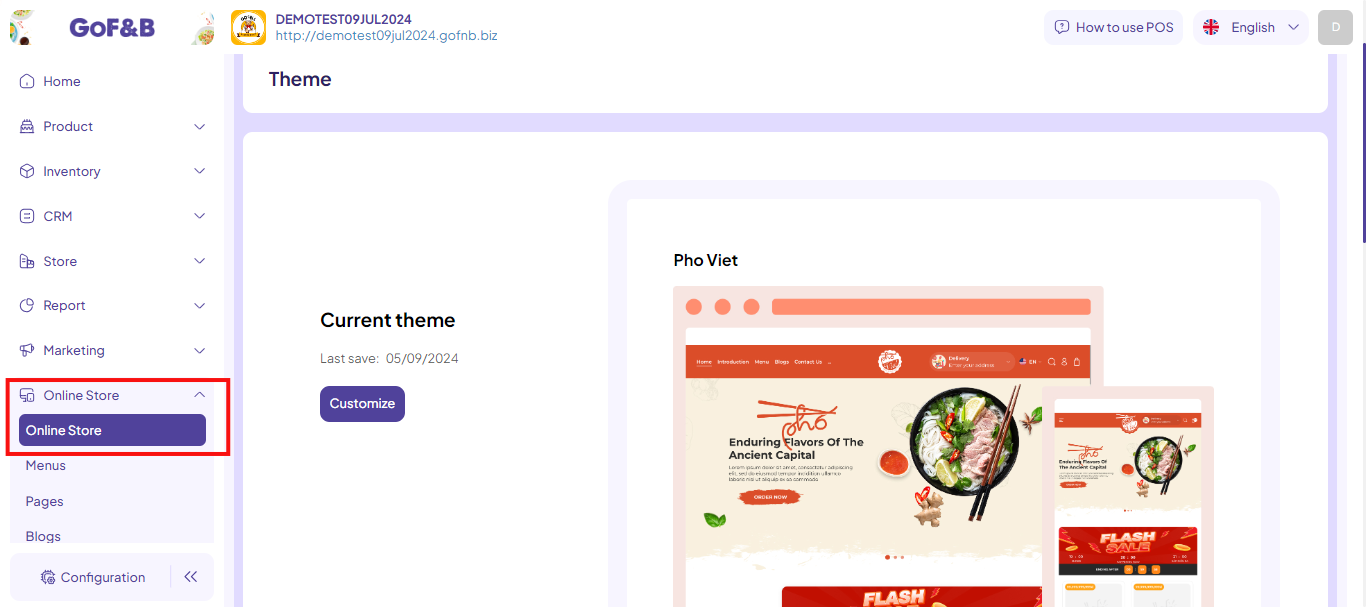
Step 2: In the admin page, go to Online Store, select Online Store.
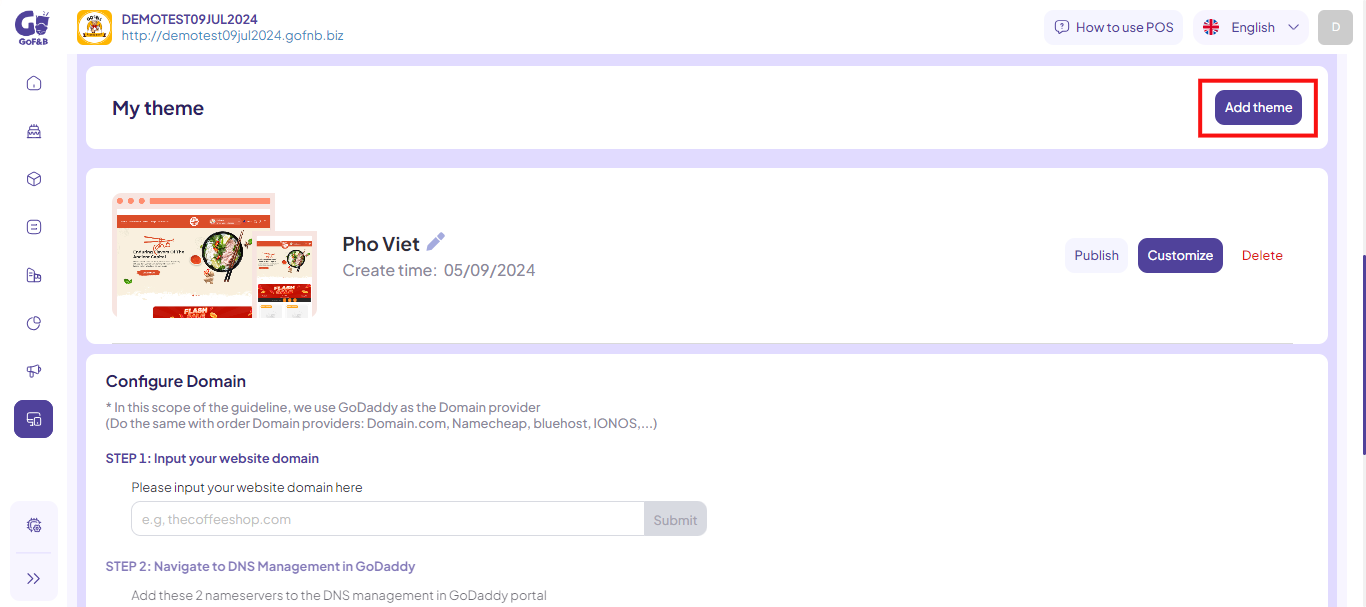
Step 3: Click the WEBSITE, scroll down to the My theme and tap Add theme.
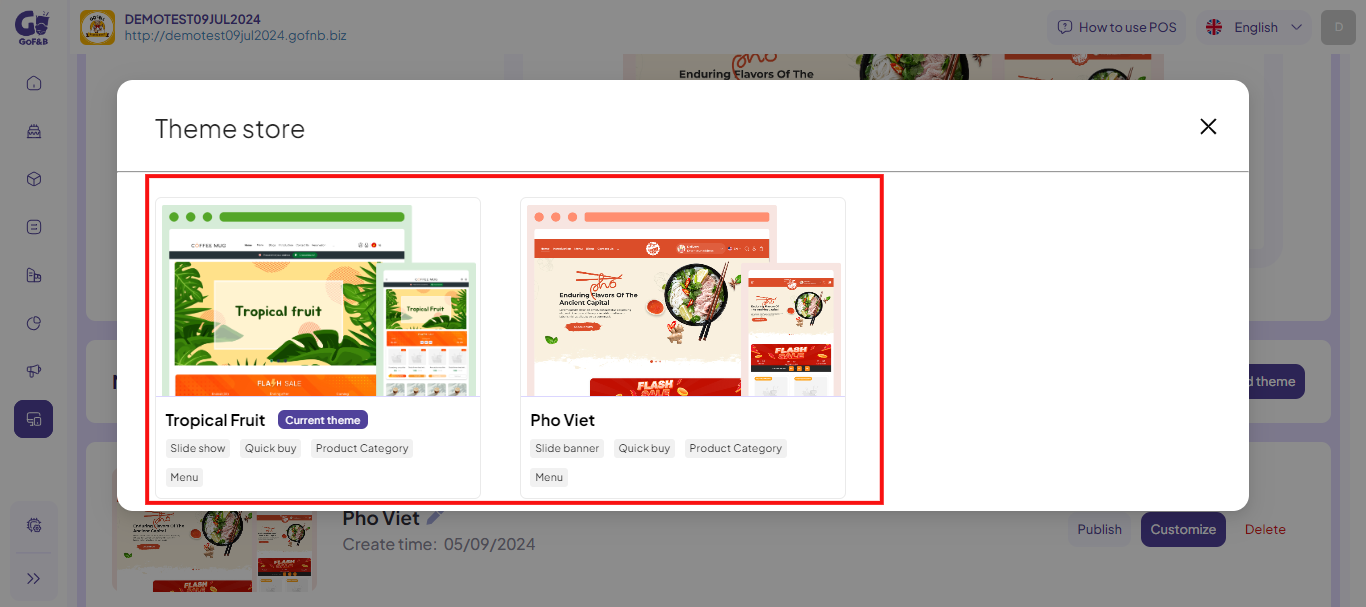
Step 4: In Theme store, select the theme you want to add.
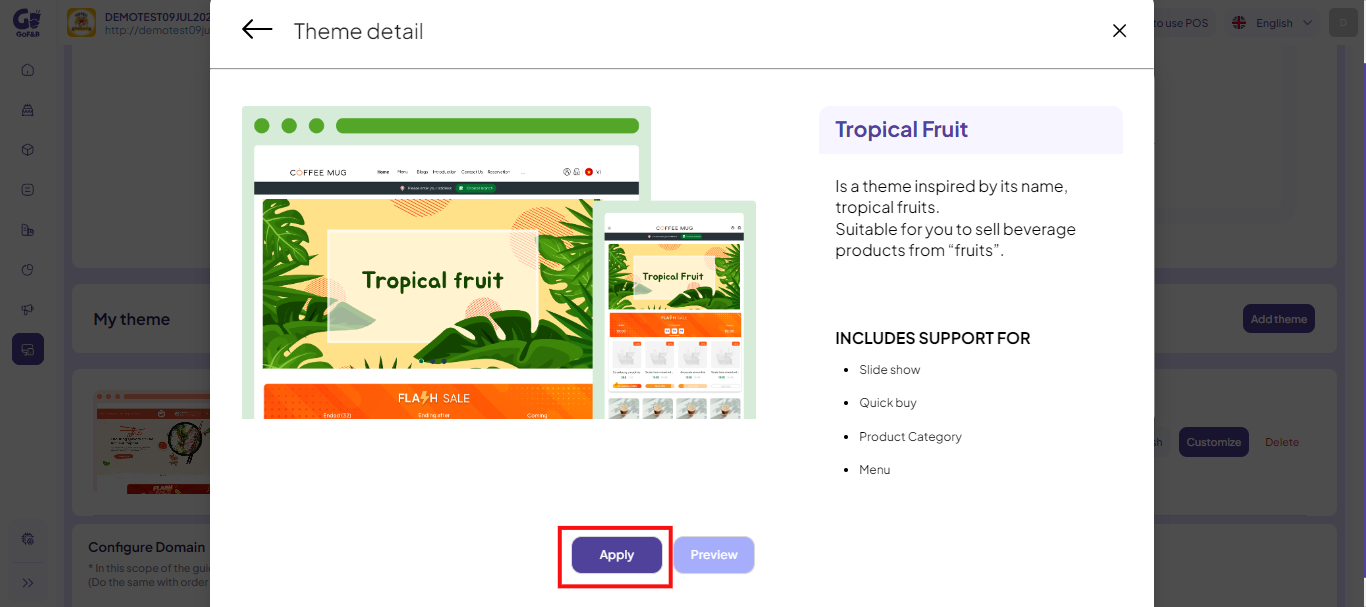
Step 5: At Theme details, select Apply to add a new theme.
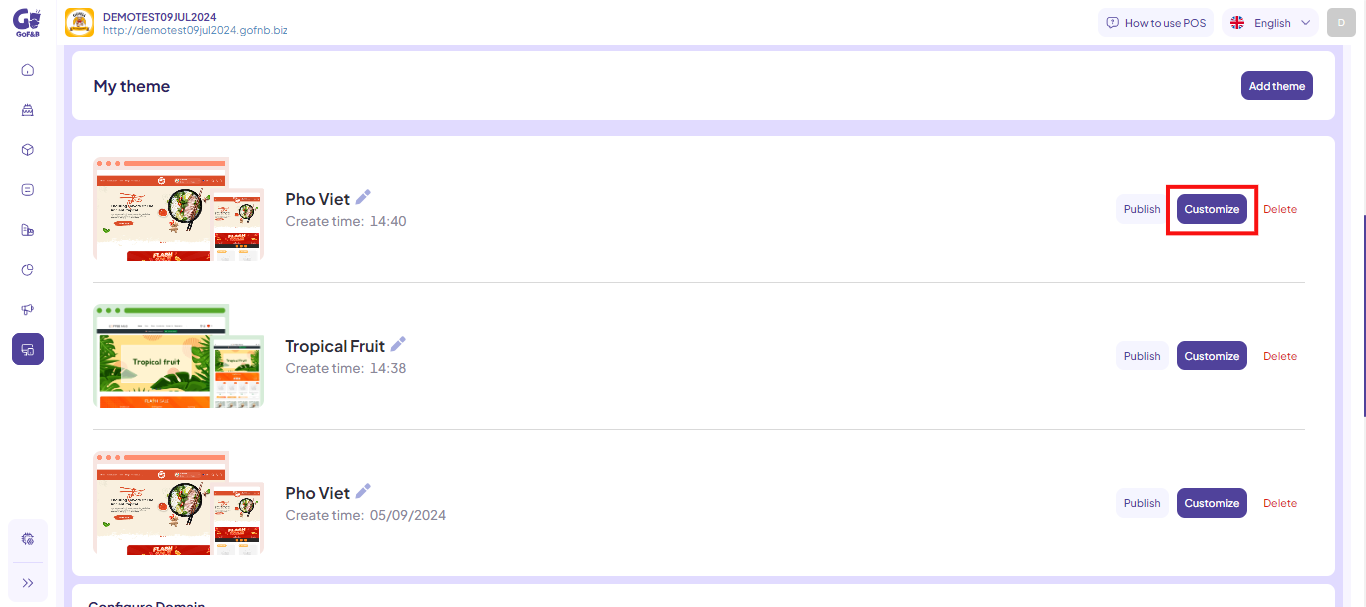
Step 6: Select the Customize button for the theme that was just applied, you can proceed with the following actions:
Customize the interface for each page
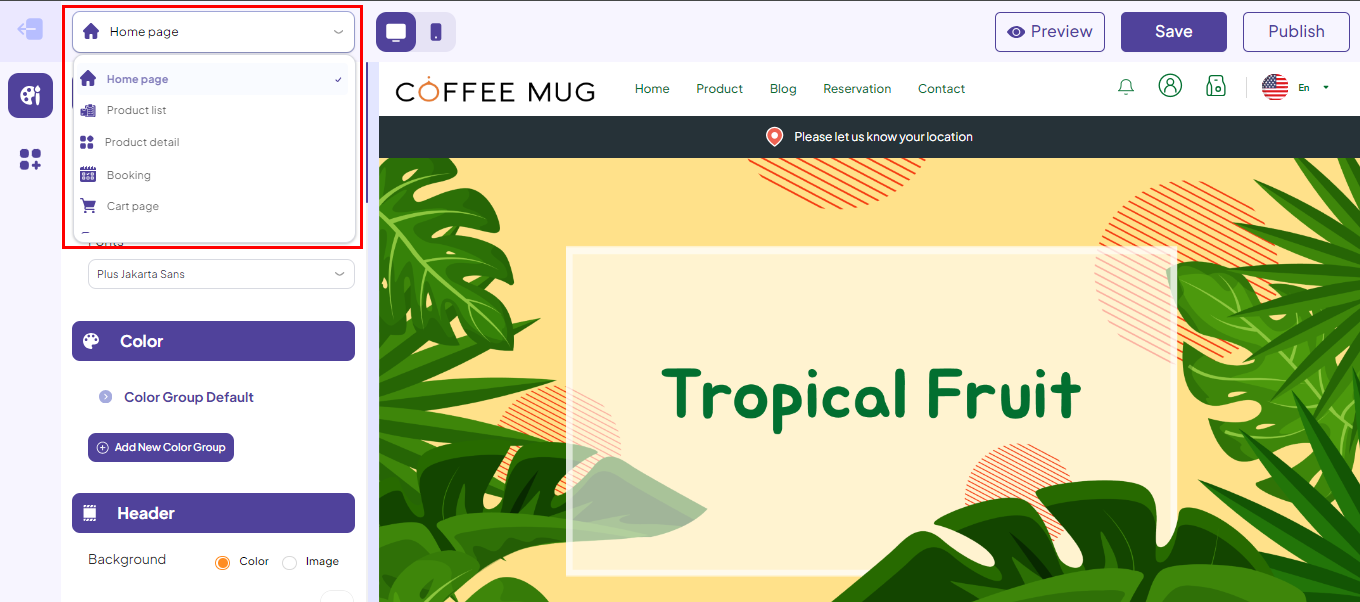
Step 7: To customize each page, click on the Homepage button, then a dropdown list of pages on the website will appear, allowing you to select any page you want to edit.
The pages on the website include:
- Homepage.
- Product list.
- Product details.
- Booking.
- Cart page.
- Checkout page.
- Register page.
- Login page.
- Forgot password page.
- My profile page.
- Contact page.
- About us page.
- Blog.
- Blog detail.
- Reservation.
- Payment.
Step 8: On each page, you can customize according to the General Interface and Element.
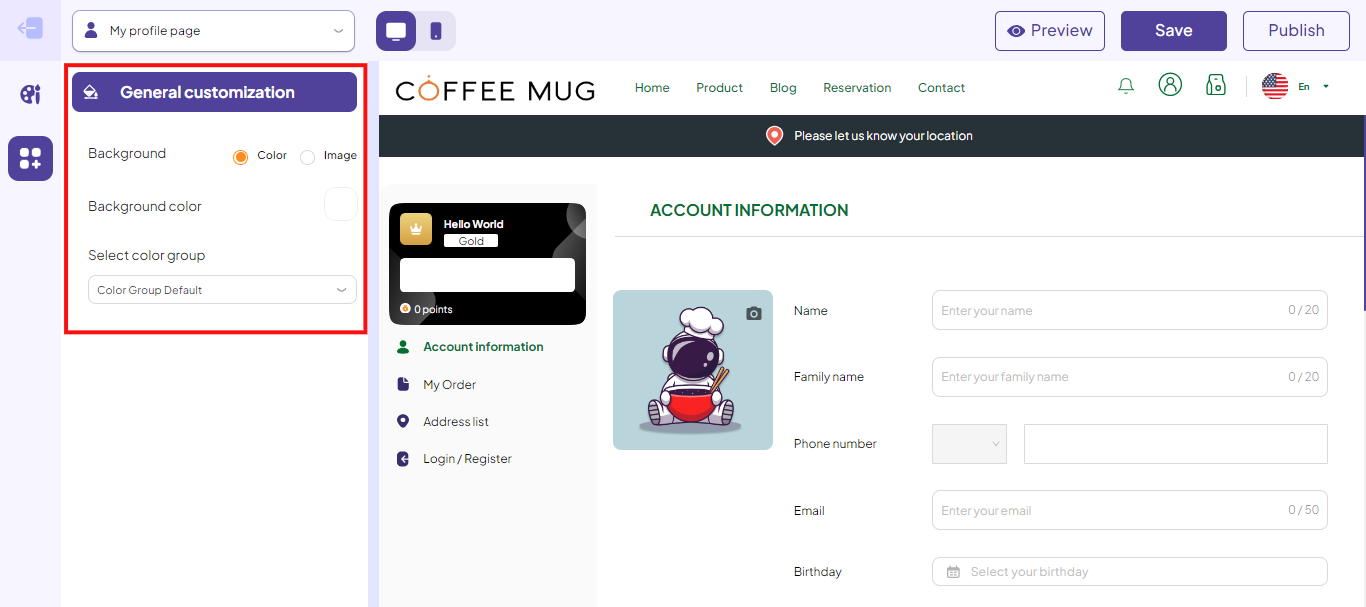
Customize the general interface
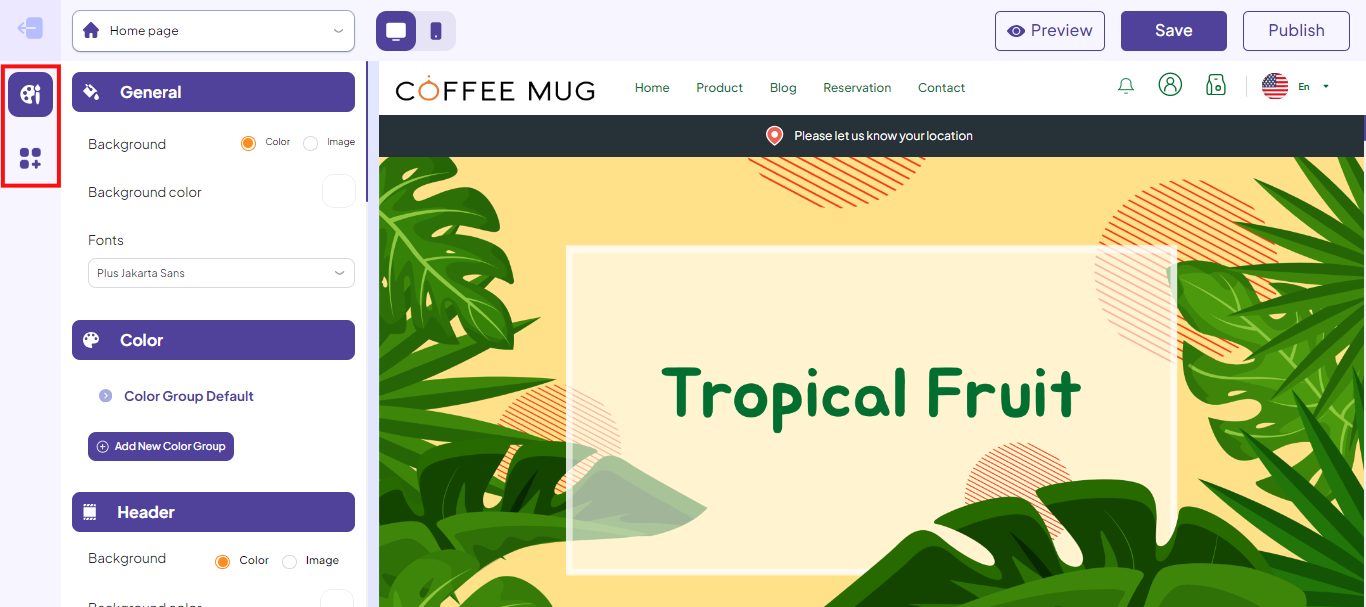
Step 9: In the website design interface, select the drawing icon. Then, you can edit the basic information on the page, including:
- General: Background (Color, Image), Background color, Font.
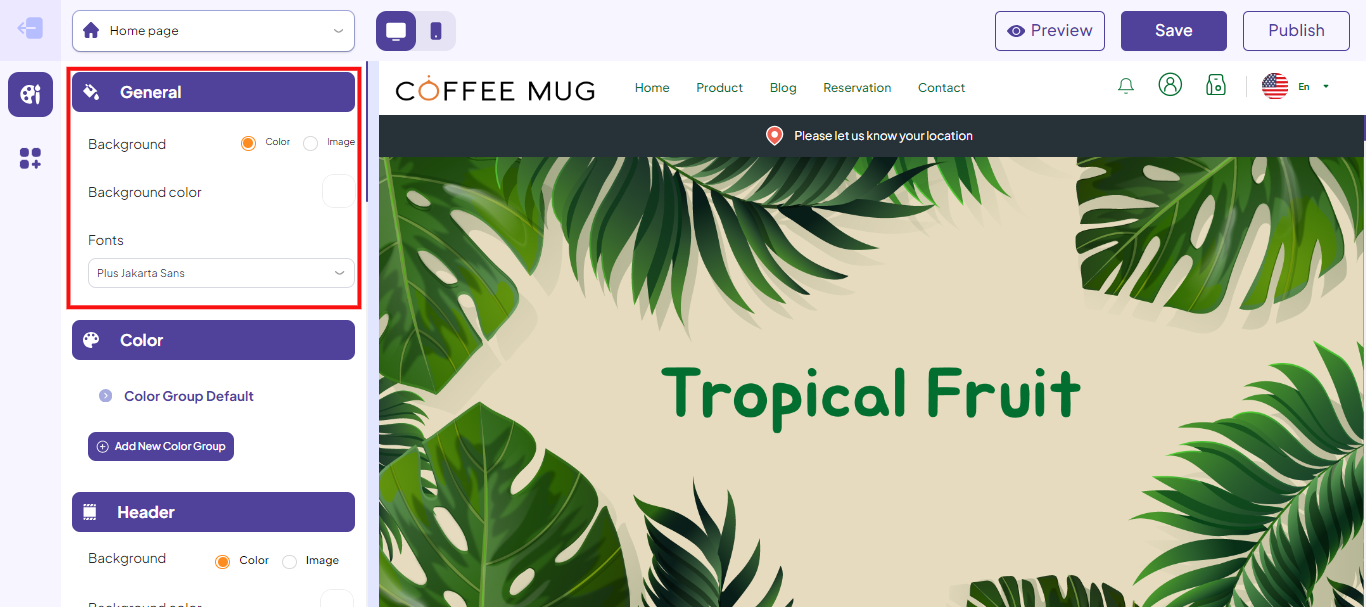
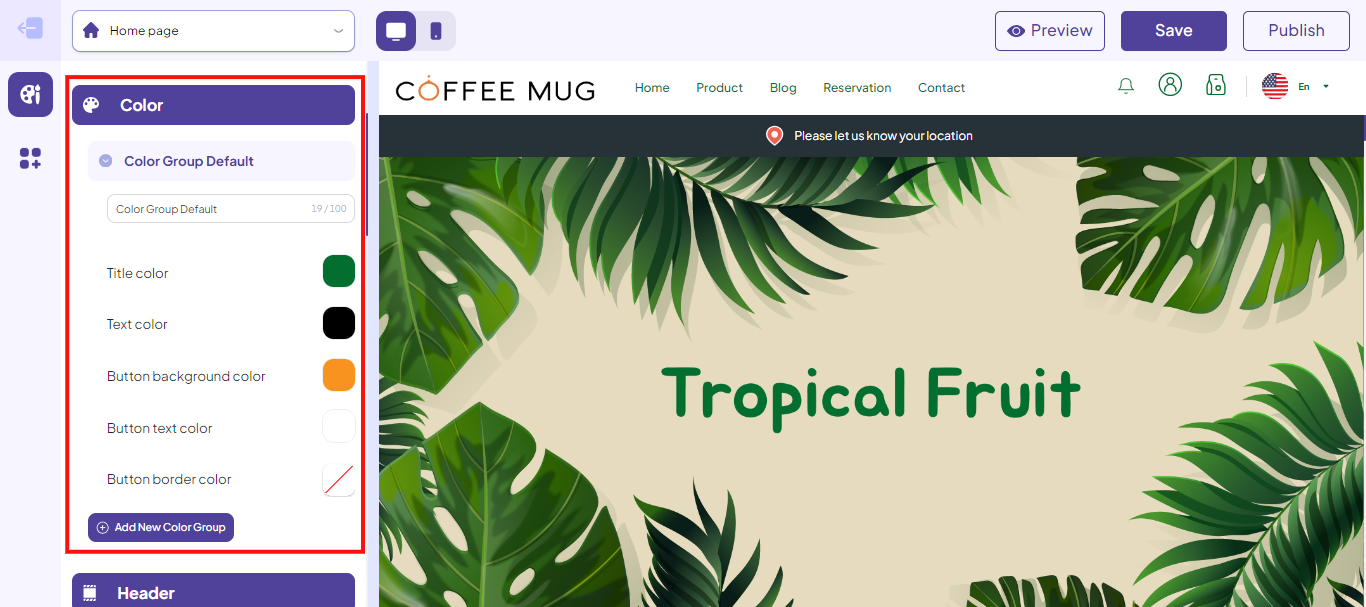
- Color (Color Group): Title color, Text color, Button background color, Button text color, Button border color.
- Header: Background (Color, Image), Background color, Select color group, Logo, Select menu, Sticky Header (Hide header when scrolling, Fix header position, always show the header when scrolling).

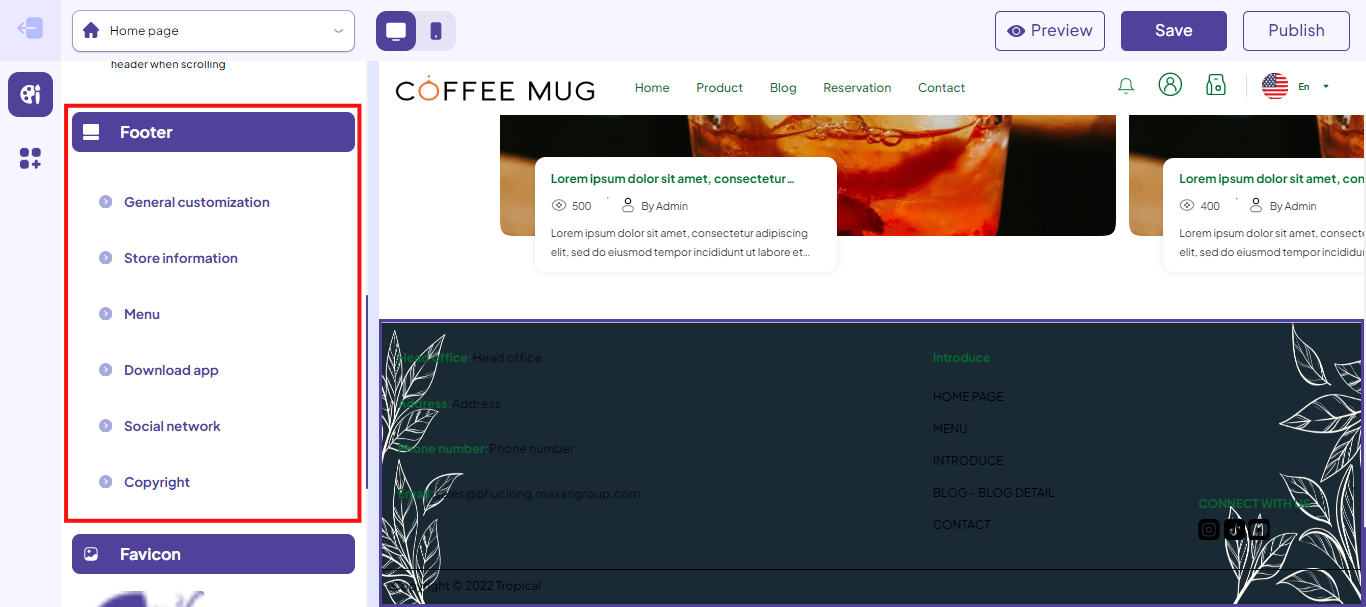
- Footer: General customization, Store information, Menu, Social network, Business license, Copyright.
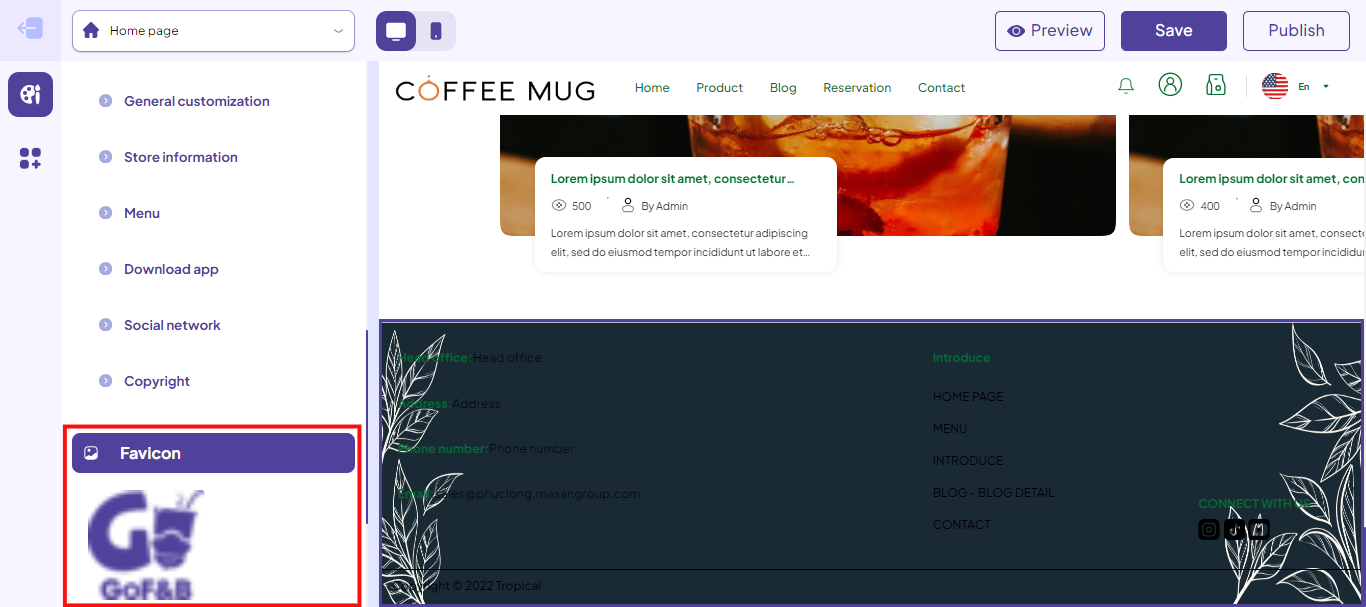
- Favicon.
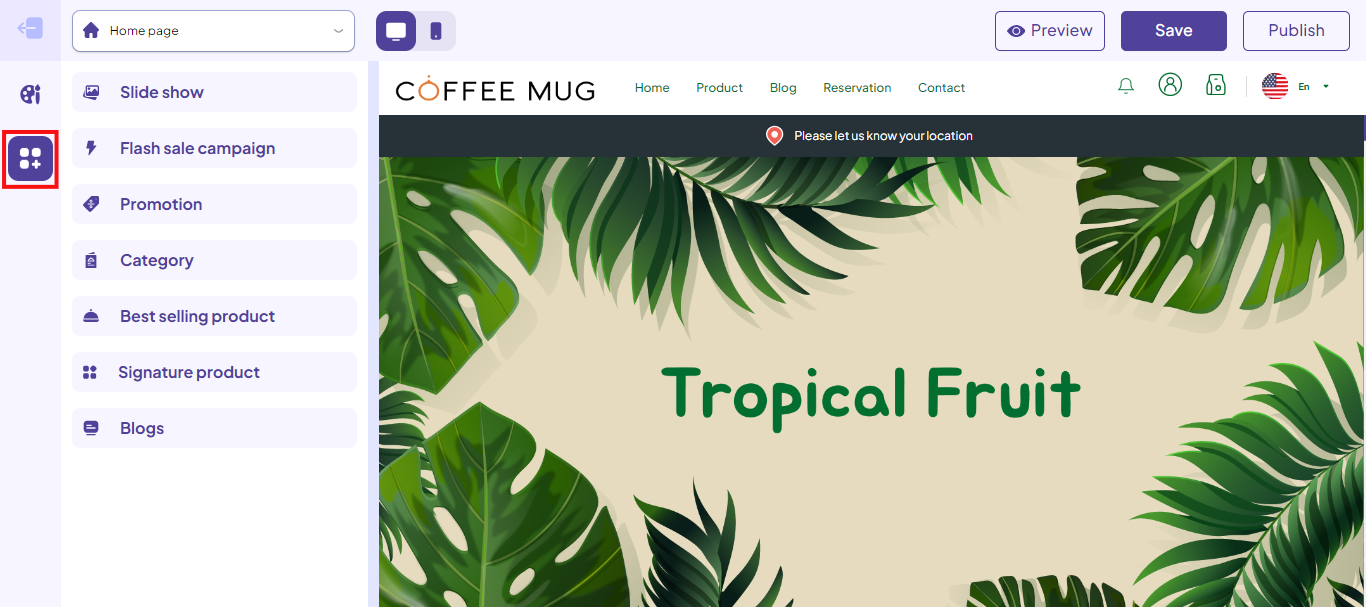
Customize the element
Step 10: In the website design interface, select the Element icon. Then, you can edit the details of each component for each page, including:
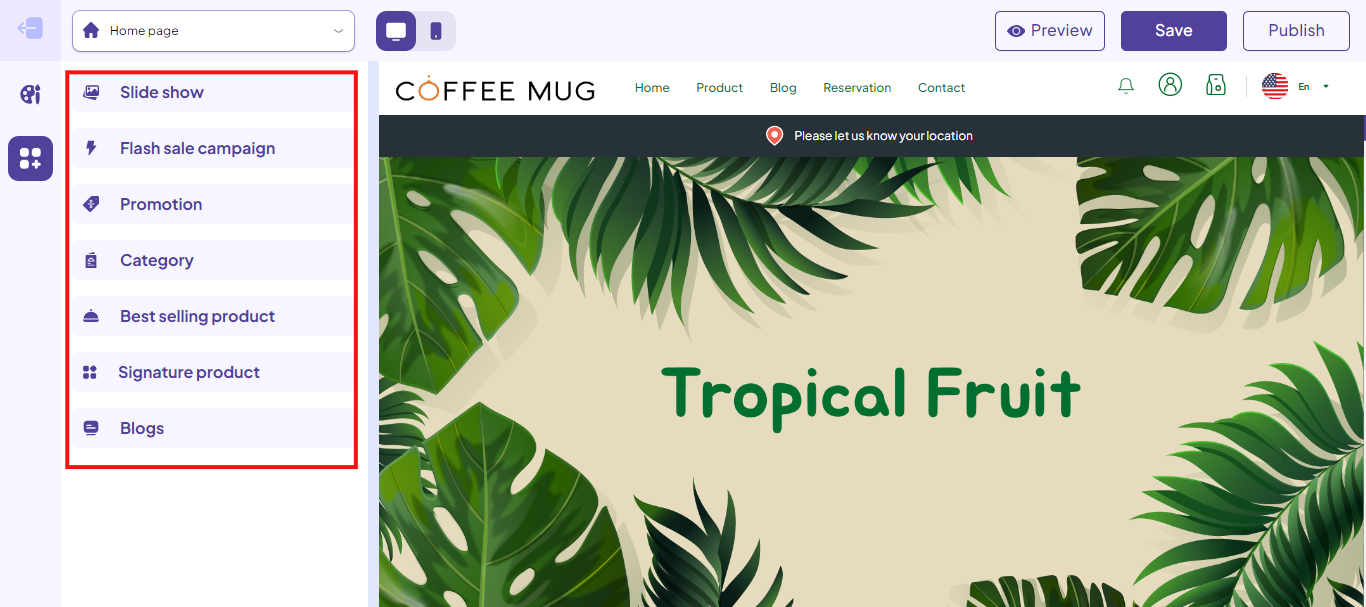
Homepage
Step 11: You can customize the elements on the Homepage, including:
- Slide show.
- Flash sale.
- Promotion.
- Category.
- Best selling product.
- Signature product.
- Blogs.
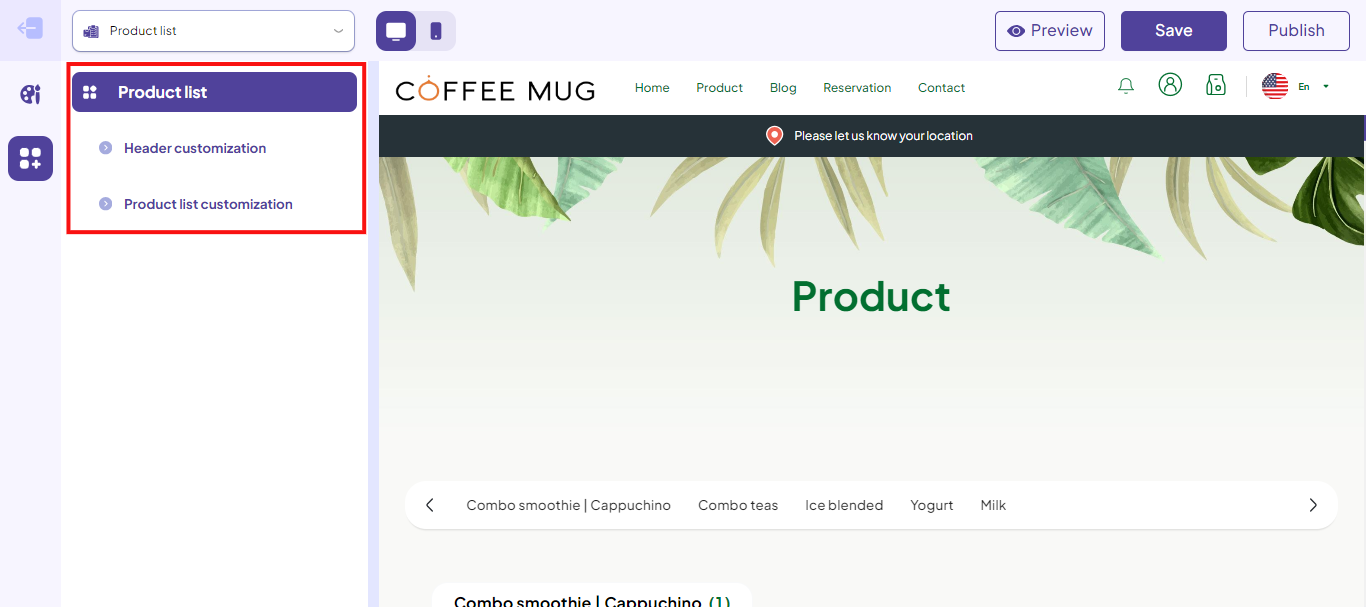
Product list
Step 12: You can customize the elements on the Product list, including:
- Header customization.
- Product list customization.
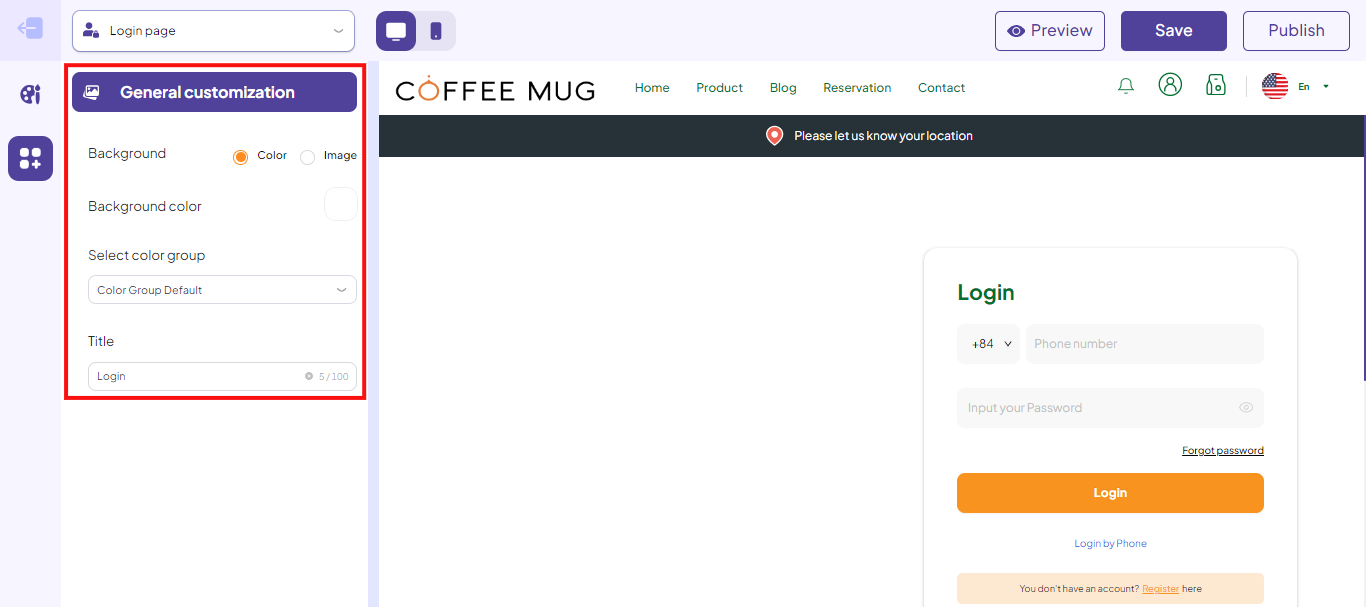
Login page
Step 13: You can customize the elements on the Login page, including:
- Background (Color, Image).
- Background color.
- Select color group.
- Title.
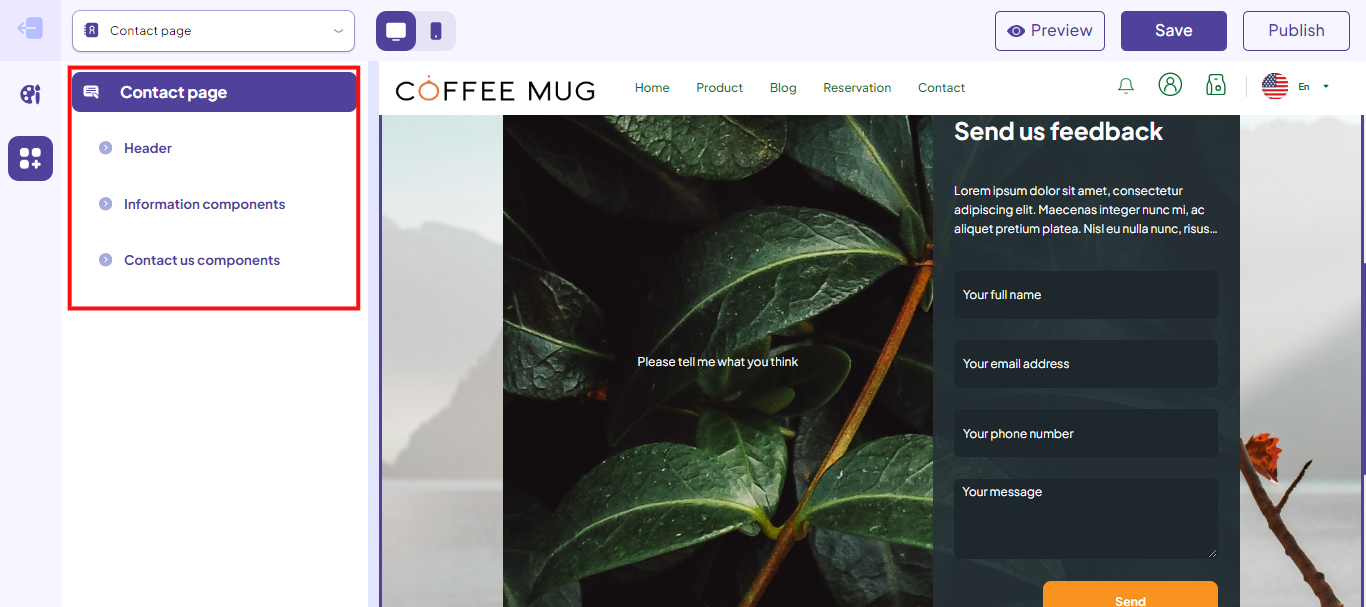
Contact page
Step 14: You can customize the elements on the Contact page, including:
- Header: Background (Color, Image), Background image, Select color group, Title.
- Information components: Background (Color, Image), Background image, Select color group, Title, Branches.
- Contact us components: Background (Color, Image), Background image, Select color group, Header, Title, Description.
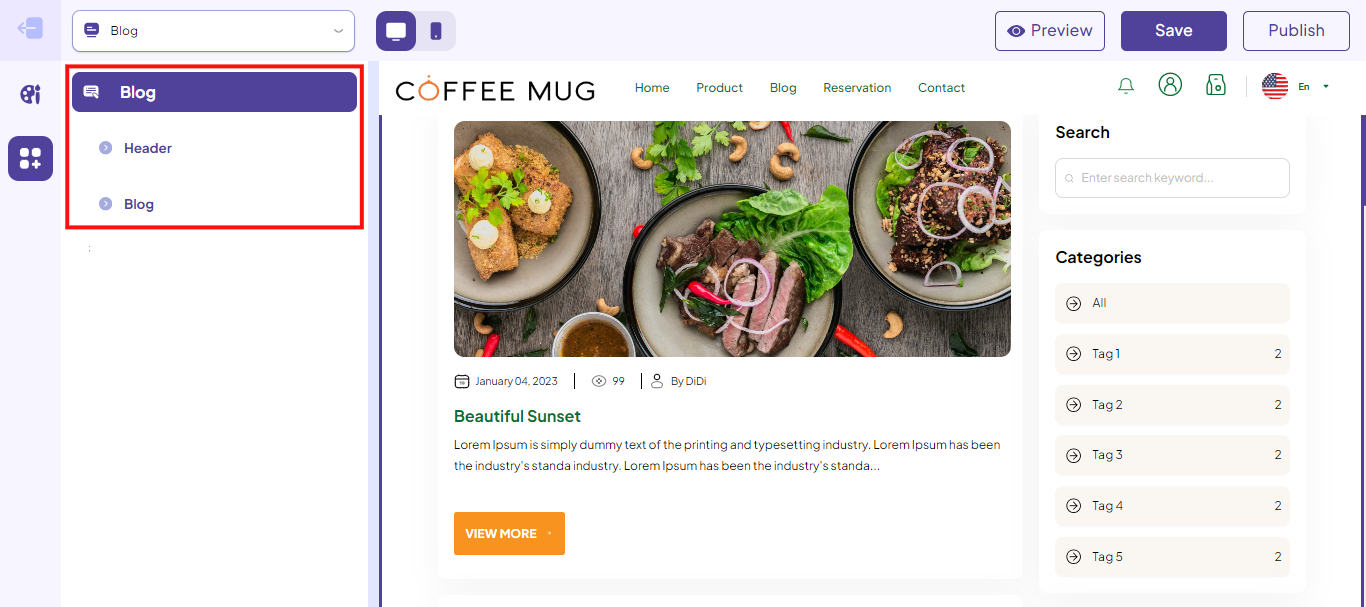
Blog
Step 15: You can customize the elements on the Blog, including:
- Header: Background (Color, Image), Background color, Select color group, Title.
- Blog: Background (Color, Image), Background color, Select color group.
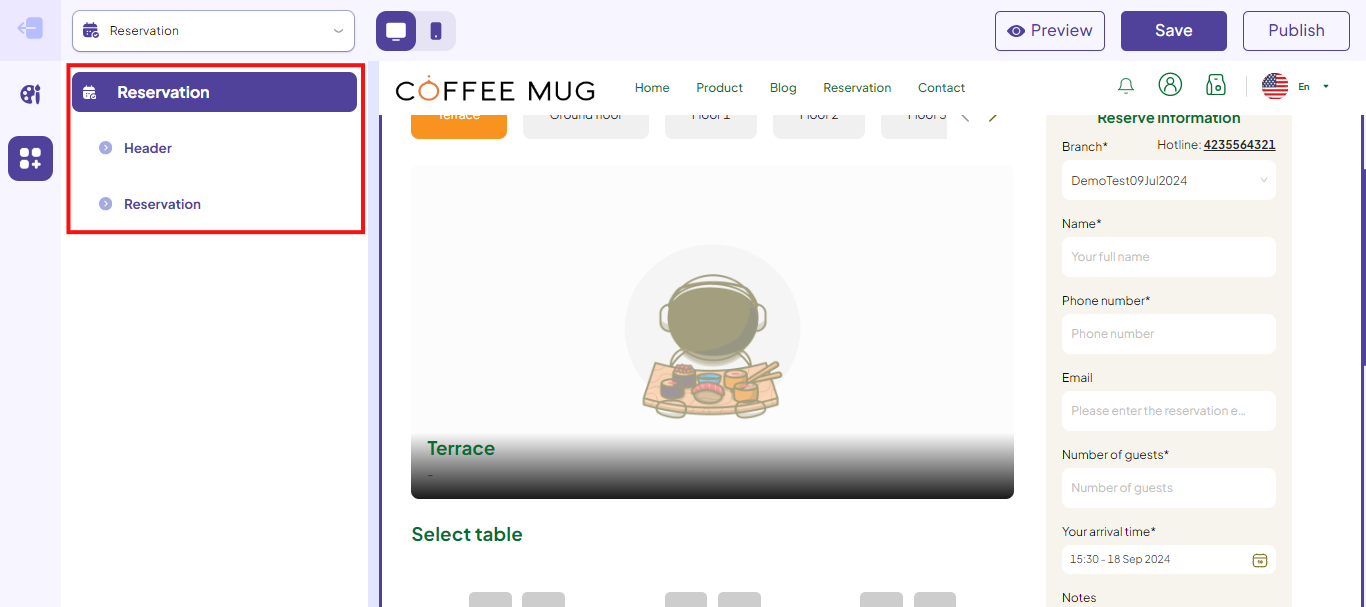
Reservation
Step 16: You can customize the elements on the Reservation, including:
- Header: Background (Color, Image), Background color, Select color group, Title.
- Reservation: Background (Color, Image), Background color, Select color group.
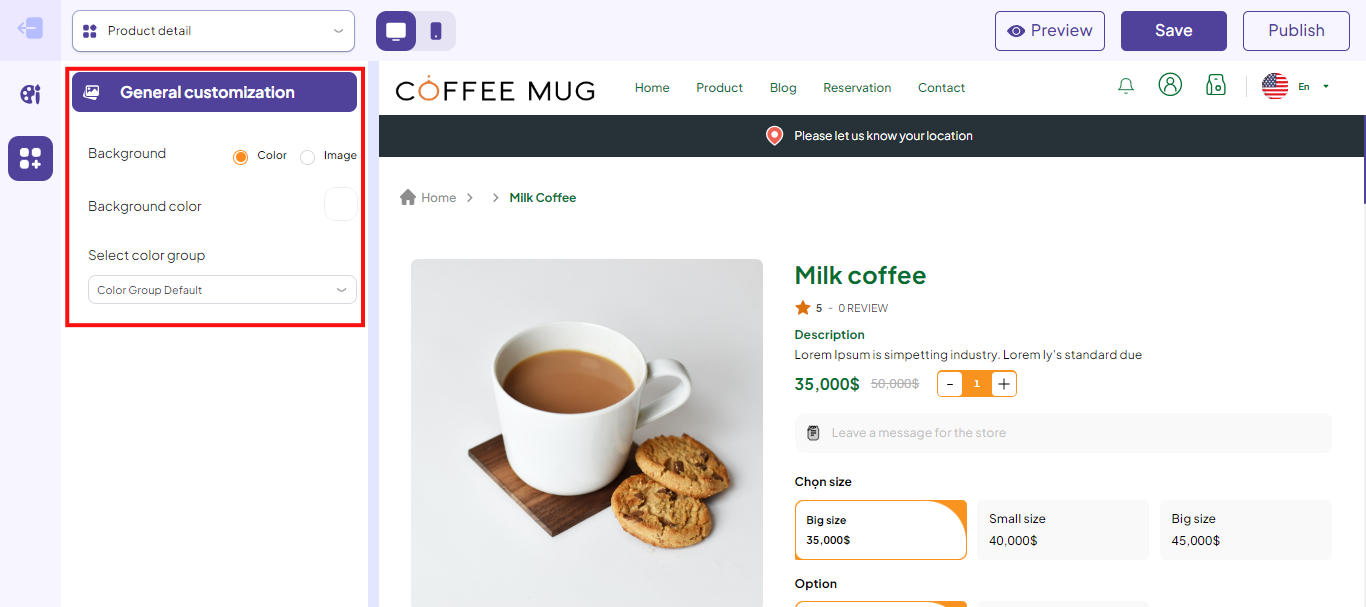
Other pages
Step 17: You can customize the elements on the Product detail, My profile page, including:
- Background (Color, Image).
- Background image.
- Select color group.
Preview the website interface
Step 18: After customizing the general interface and website elements, you can click Review to preview the interface before publishing.

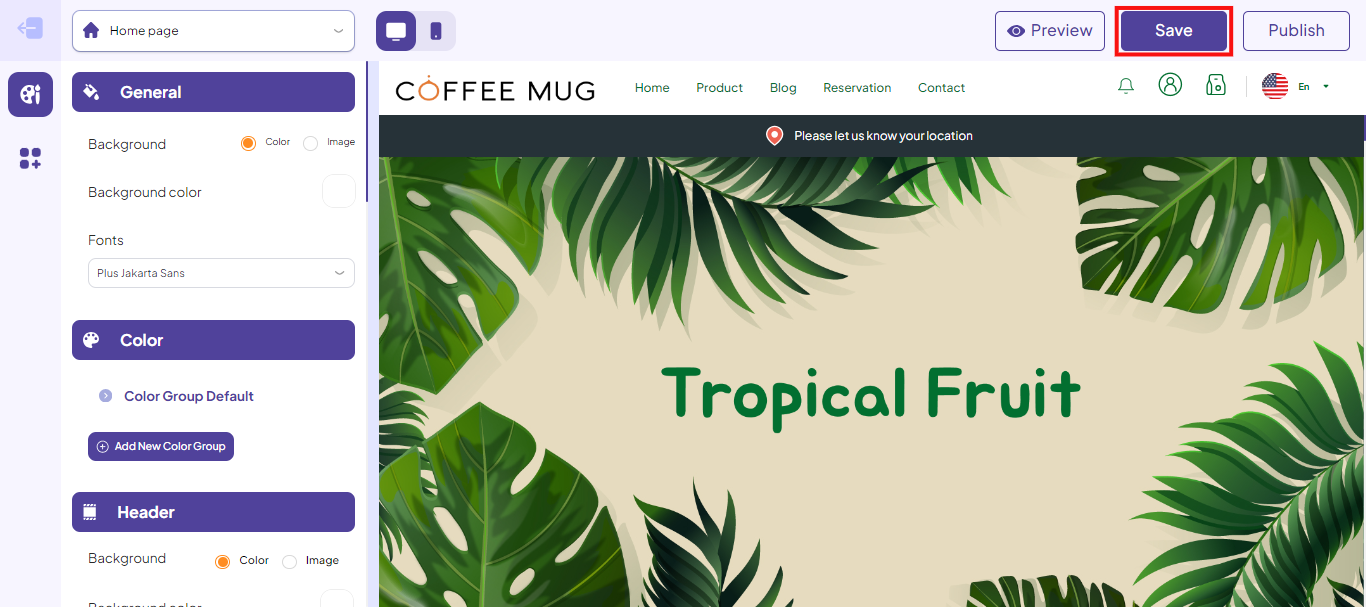
Save the website interface
Step 19: After finishing the customization of the interface, if you don’t want to publish it right away, you can click Save.
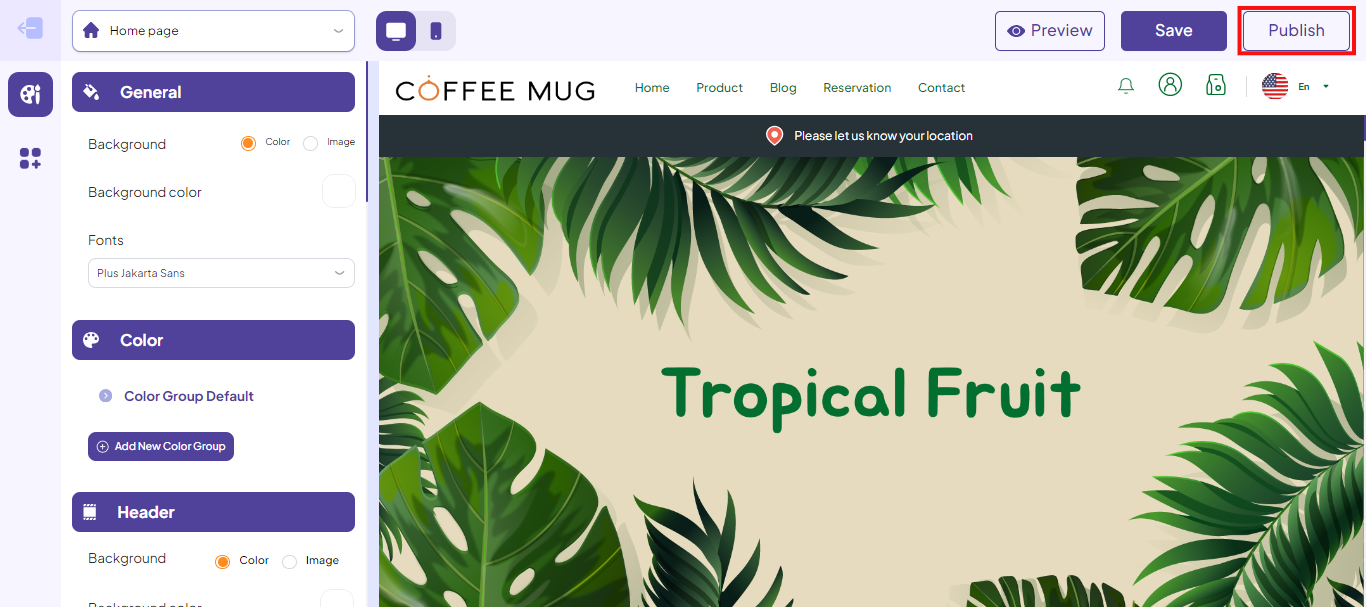
Publish the website interface
Step 20: If you want the interface to appear on the official website right away, you can click Publish.
Note: For other themes, the interface design page will be similar to the one above.
This is an overview of the website interface design (Storefront). If you have any other questions or related inquiries, please contact our Customer Service team via email at [email protected].