
Design the interface for the homepage
The homepage design feature lets you customize the layout, colors, and images right on the homepage to align with your brand’s style. This helps design a unique homepage, making it convenient for customers to order.
Step-by-step guide:
Step 1: Go to the GoF&B admin page (https://admin.gofnb.biz/login).
Step 2: In the admin page, go to Online Store, select Online Store.

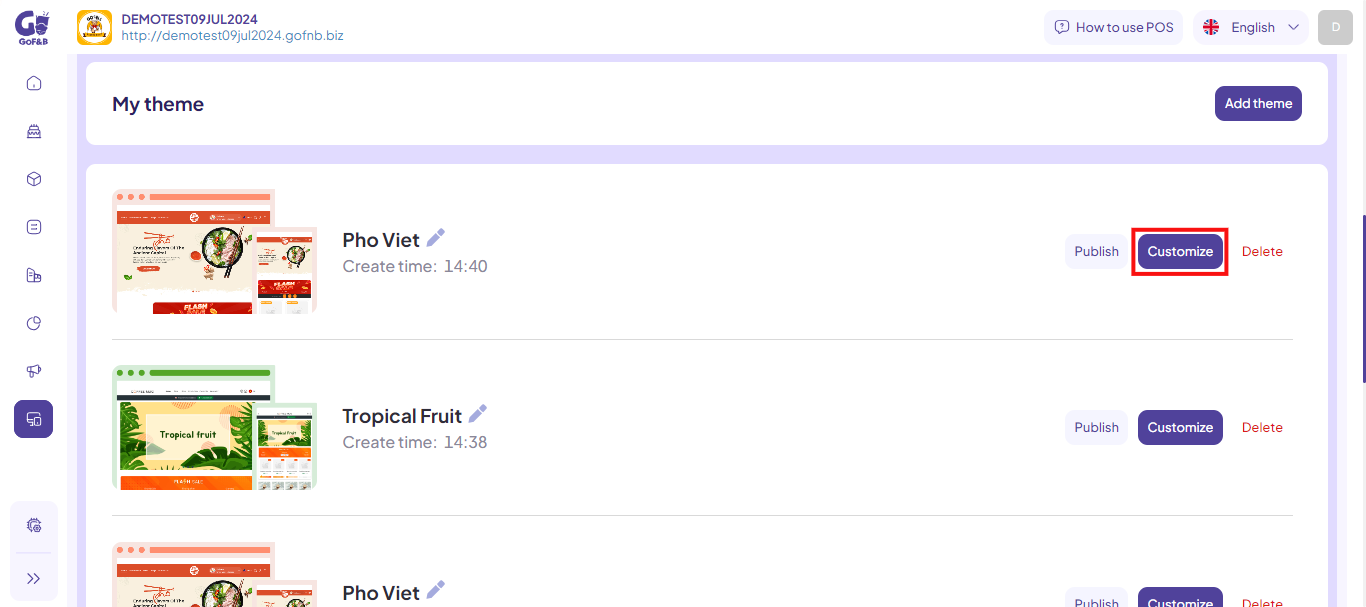
Step 3: To design the homepage interface, click on Customize and select the template you want to set up for your restaurant/diner.
Step 4: In the website design interface, click on the Homepage button.
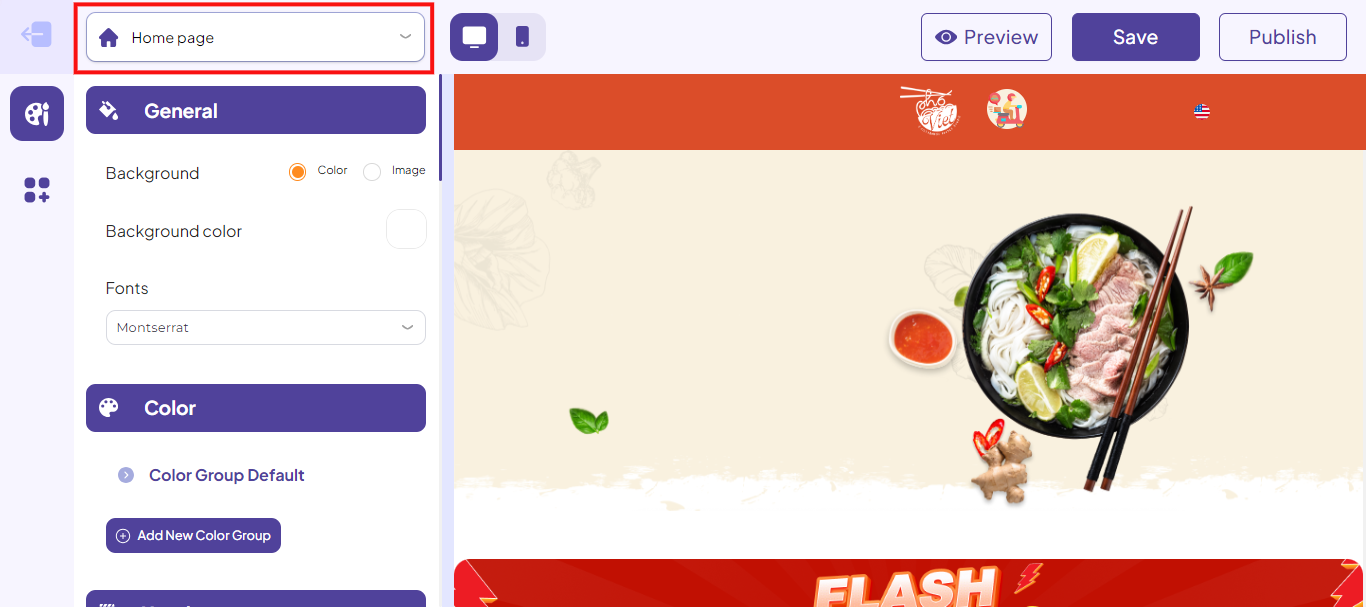
Step 5: Click on General, then complete the following information:
- Background: You can choose between two options, Color (the background color of the homepage) or Image (the background image of the homepage).
- Background color: If you select Color as the Background option.
- Background image: If you select Image as the Background option.
- Font: The font style for the entire homepage.
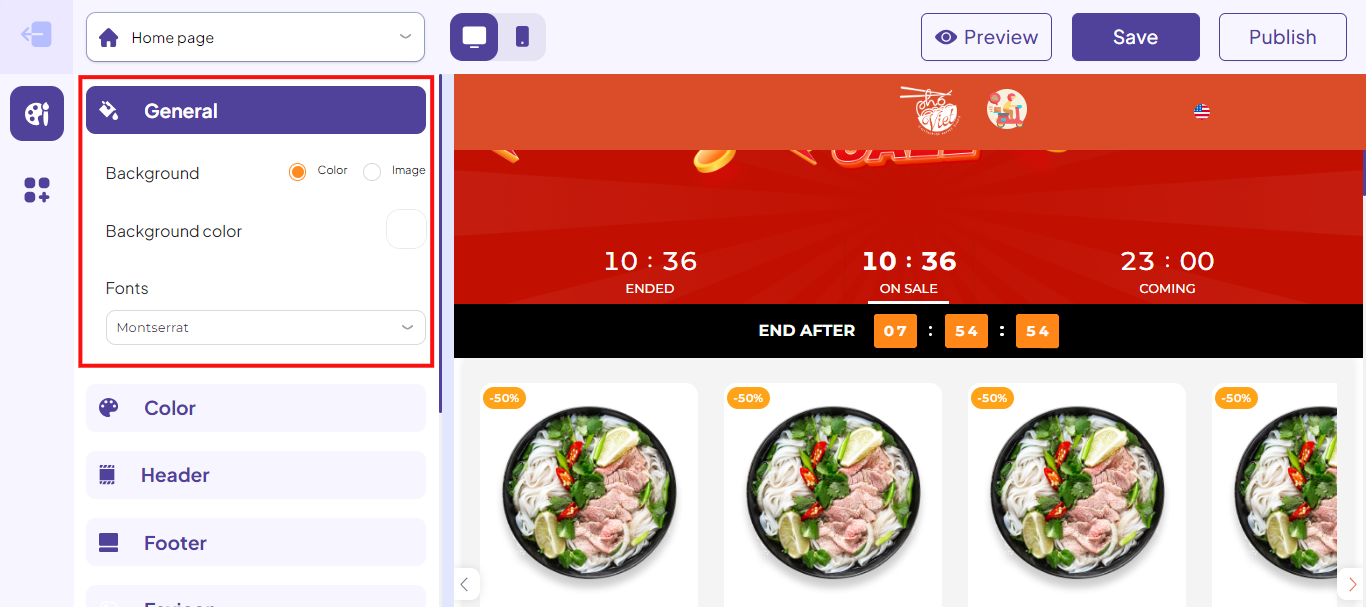
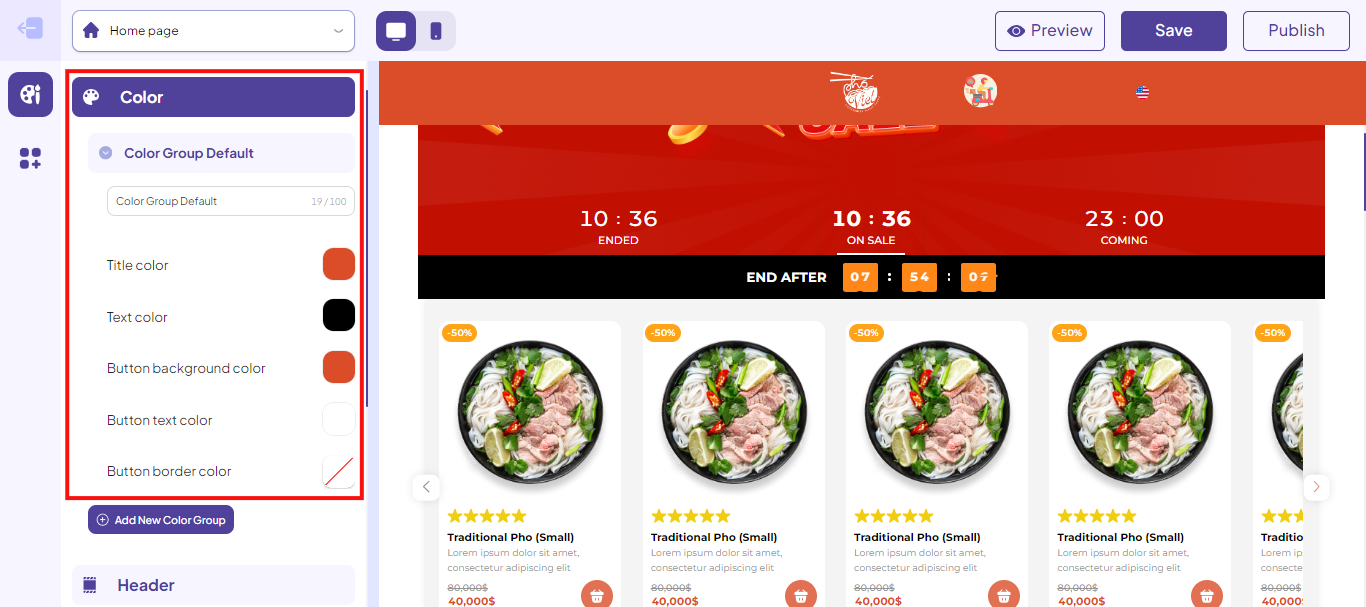
Step 6: Click on Color Group Default, then complete the following information:
- Title color.
- Text color.
- Button background color.
- Button text color.
- Button border color.
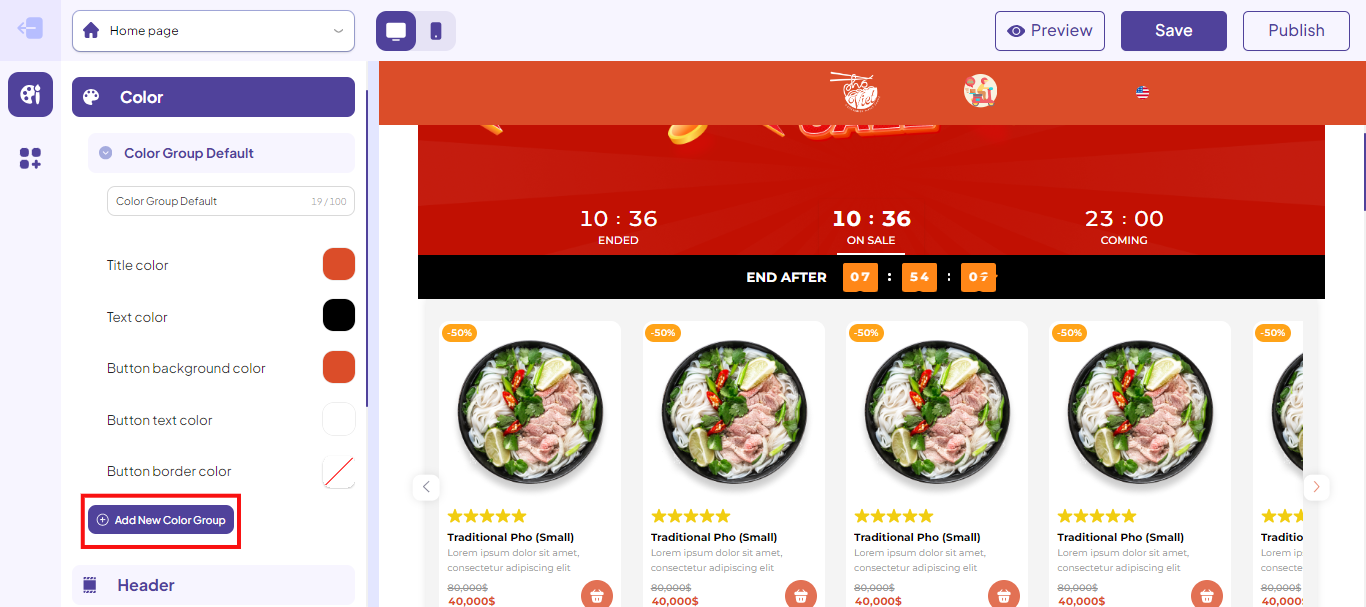
Step 7: If you want to create additional color groups, select Add New Color Group and customize it similarly to Color Group Default.
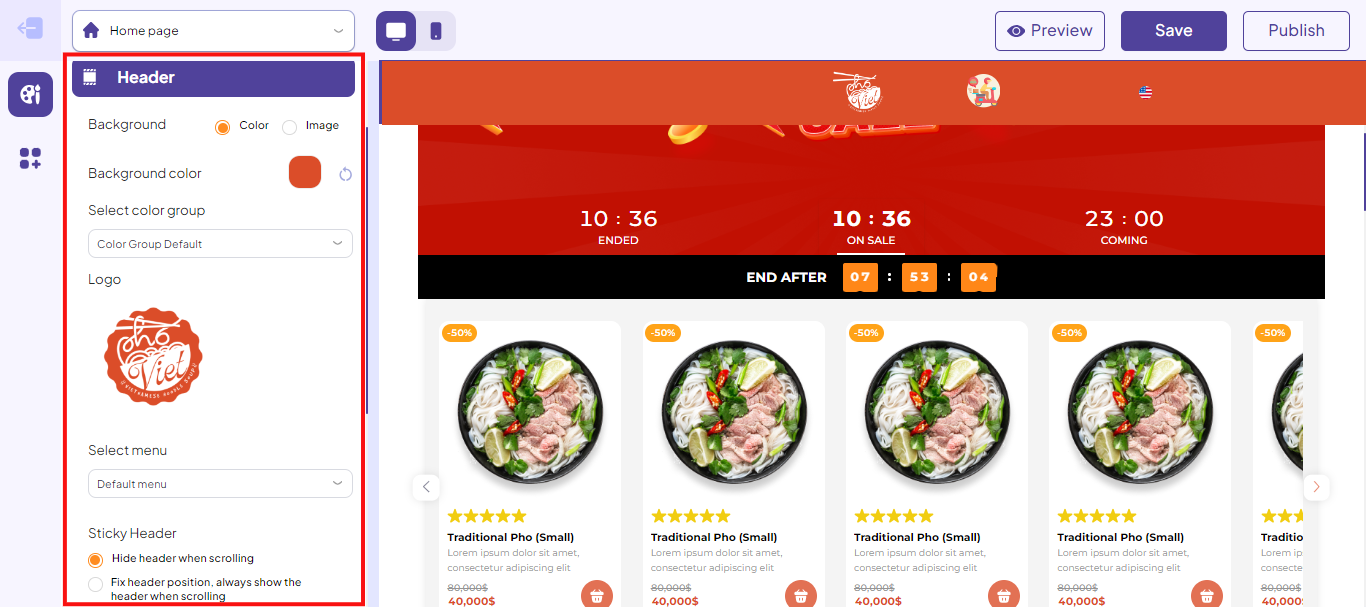
Step 8: Click on Header, then complete the following information:
- Background: You can choose between two options, Color (the background color of the homepage) or Image (the background image of the homepage).
- Background color: If you select Color as the Background option.
- Background image: If you select Image as the Background option.
- Select color group: Color Group Default or the newly created color group.
- Logo: Restaurant/diner brand logo.
- Select menu: The restaurant/diner menu is already set up.
- Sticky Header: Hide header when scrolling, Fix header position, always show the header when scrolling.
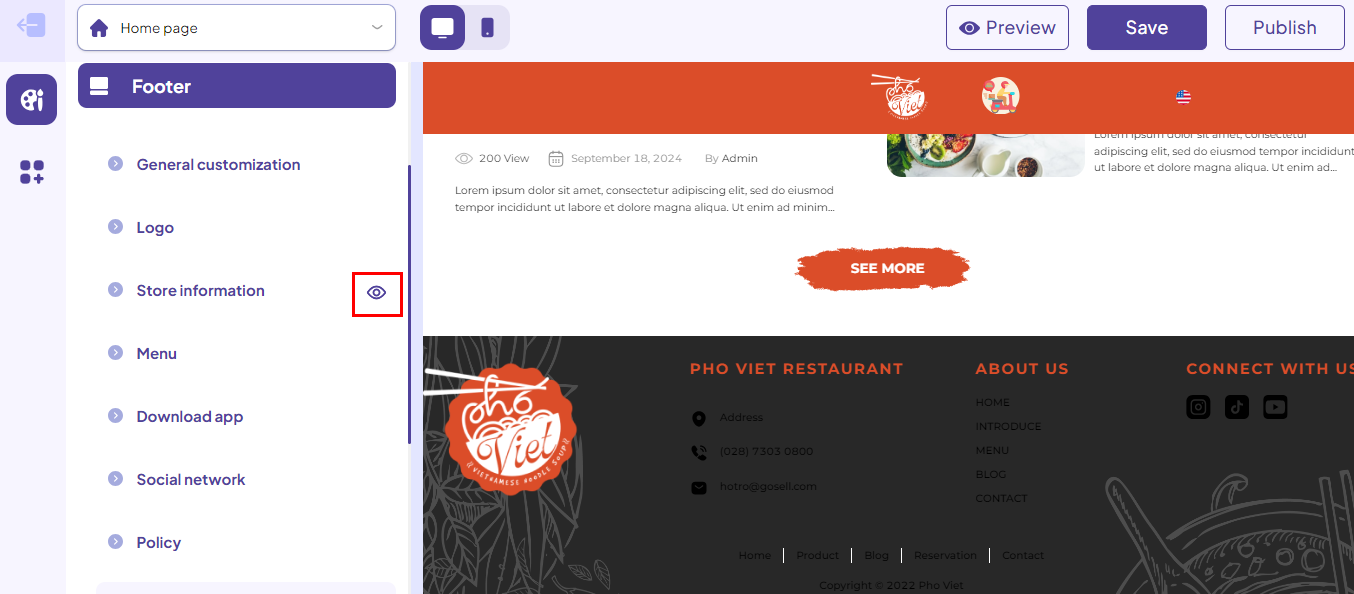
Step 9: Click on Footer, then complete the following information:
General customization
- Background: You can choose between two options, Color (the background color of the homepage) or Image (the background image of the homepage).
- Background color: If you select Color as the Background option.
- Background image: If you select Image as the Background option.
- Select color group: Color Group Default or the newly created color group.

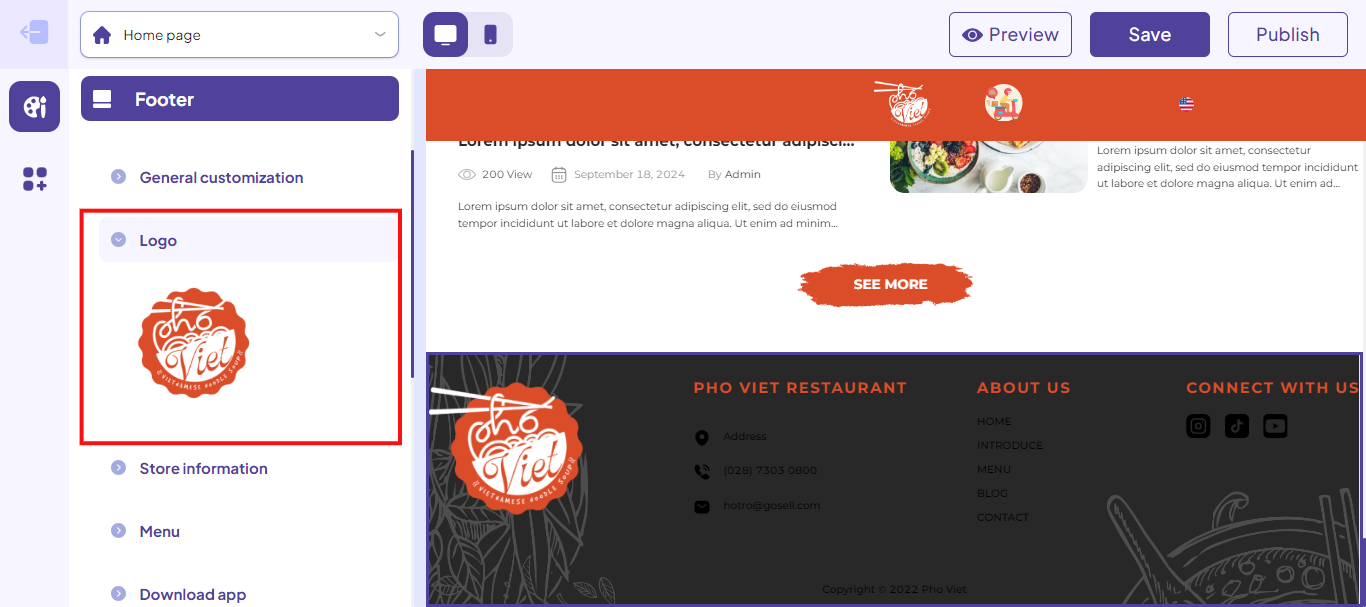
Logo
Click on the pen icon and upload the logo image of the restaurant/diner brand to display in the footer section.
Store information
- Head office.
- Address.
- Phone number.
- Email.

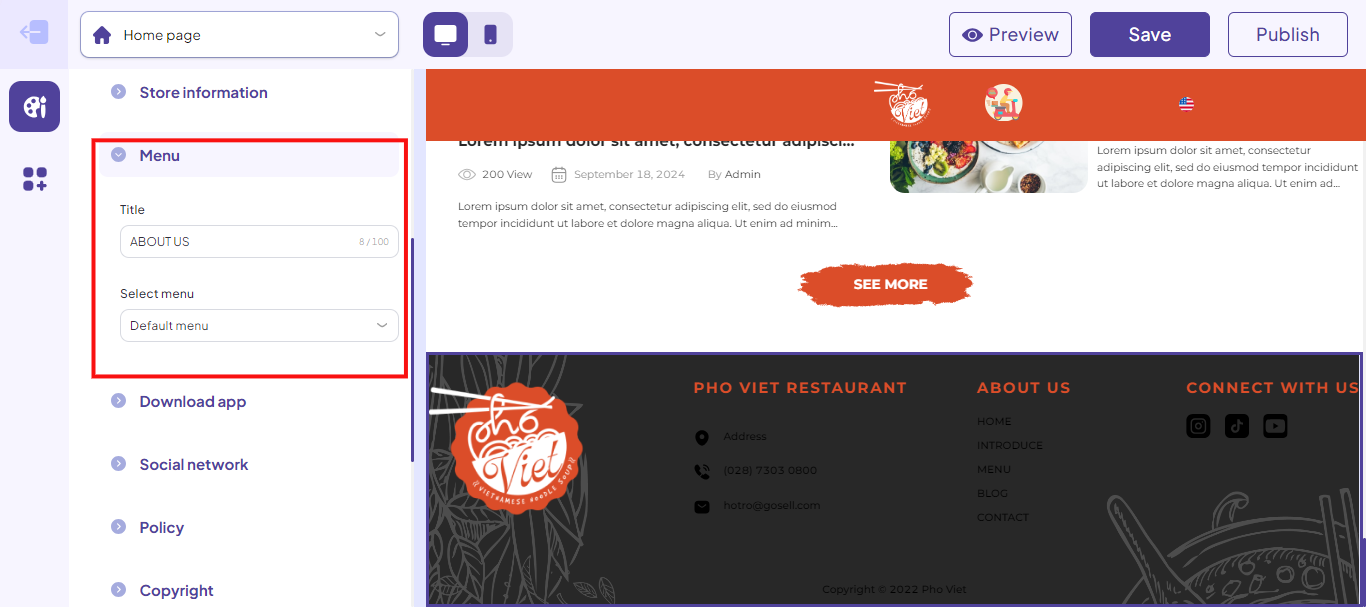
Menu
- Title.
- Select menu.
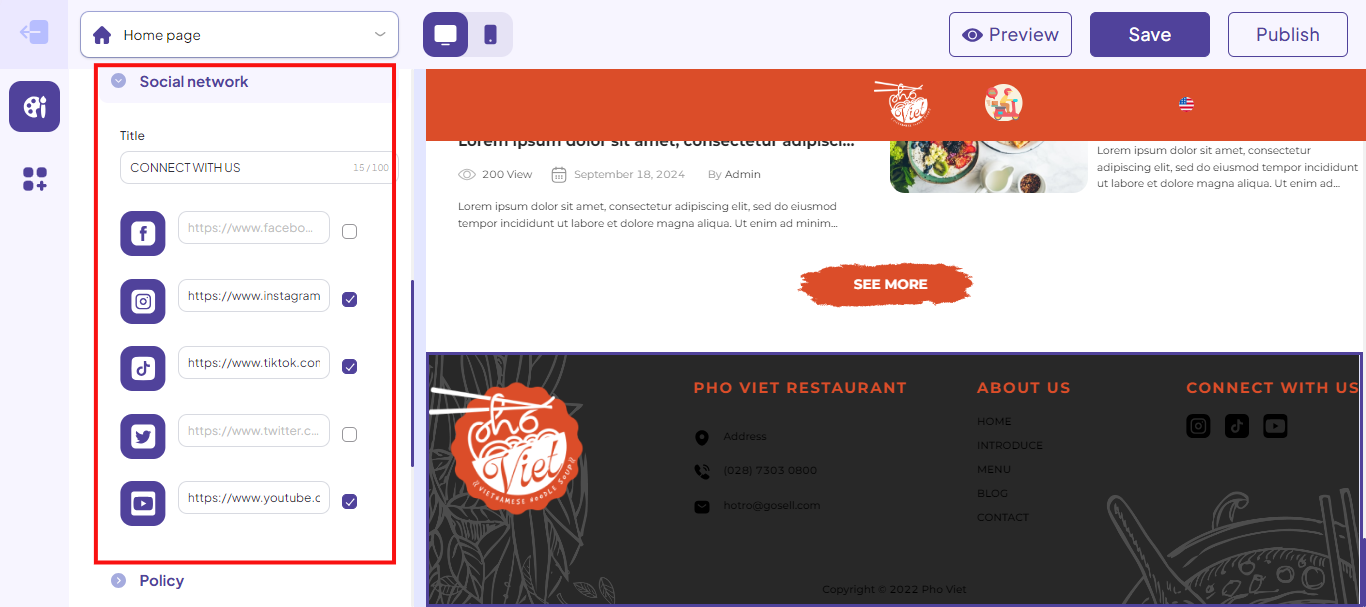
Social network
- Title.
- Facebook.
- Instagram.
- TikTok.
- X (Twitter).
- Youtube.
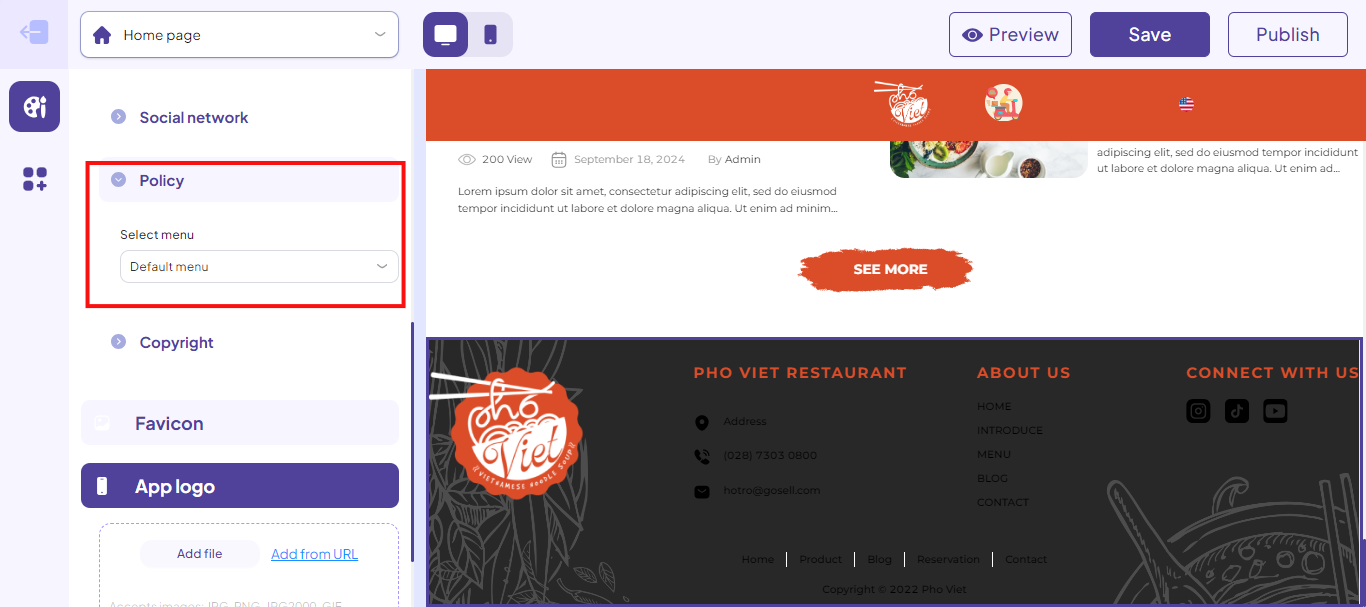
Policy
Fill in the Select menu
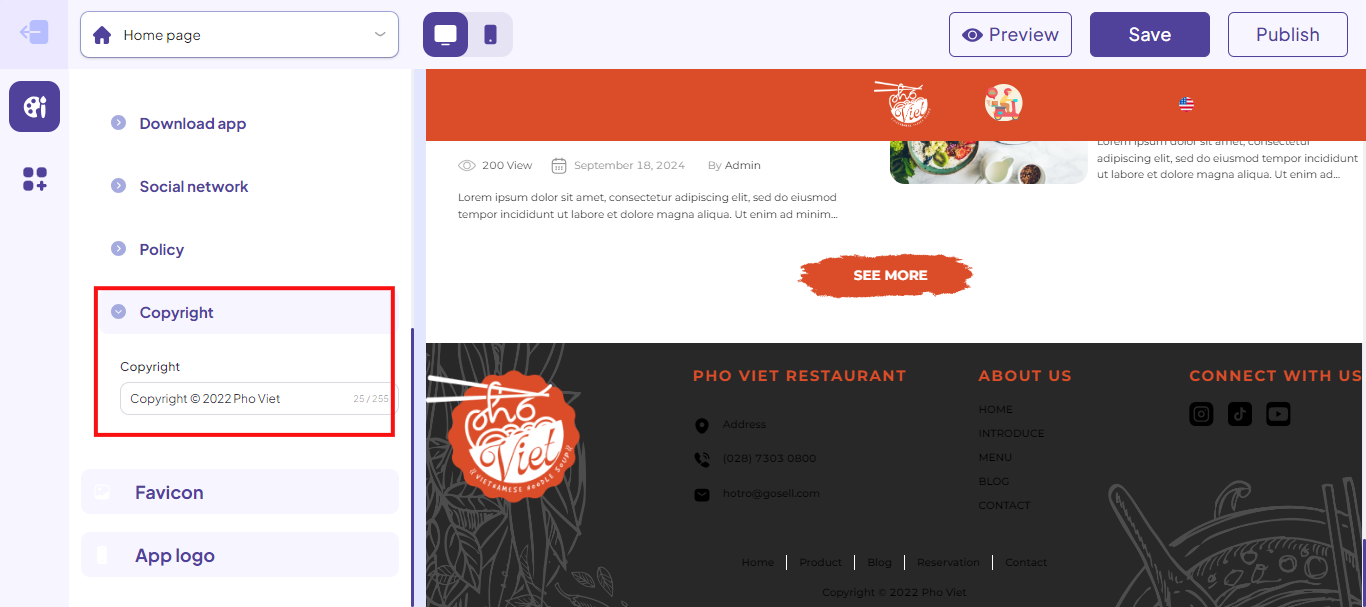
Copyright
Fill in the Copyright information.
Note: Select the eye icon to hide/show elements in the footer.
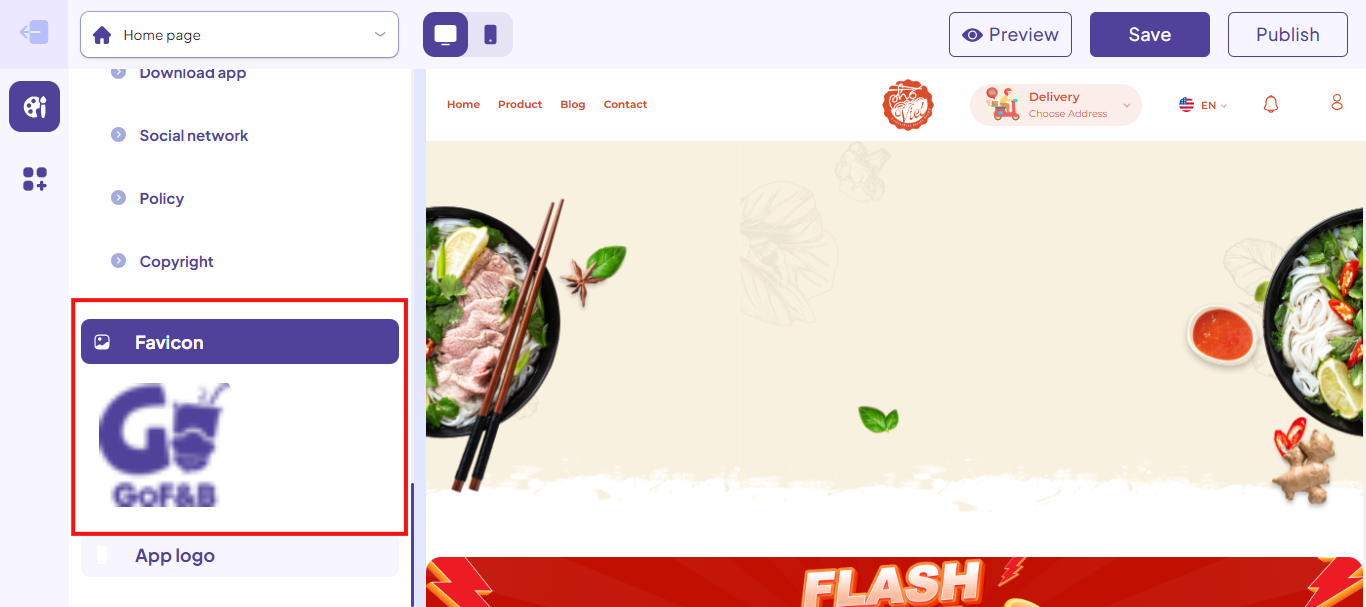
Step 10: Select the Favicon section, Click the pen icon to upload the Favicon image (the small icon displayed at the top of each browser tab).
Note: You can click on Preview to see how the store’s homepage will appear before publishing.
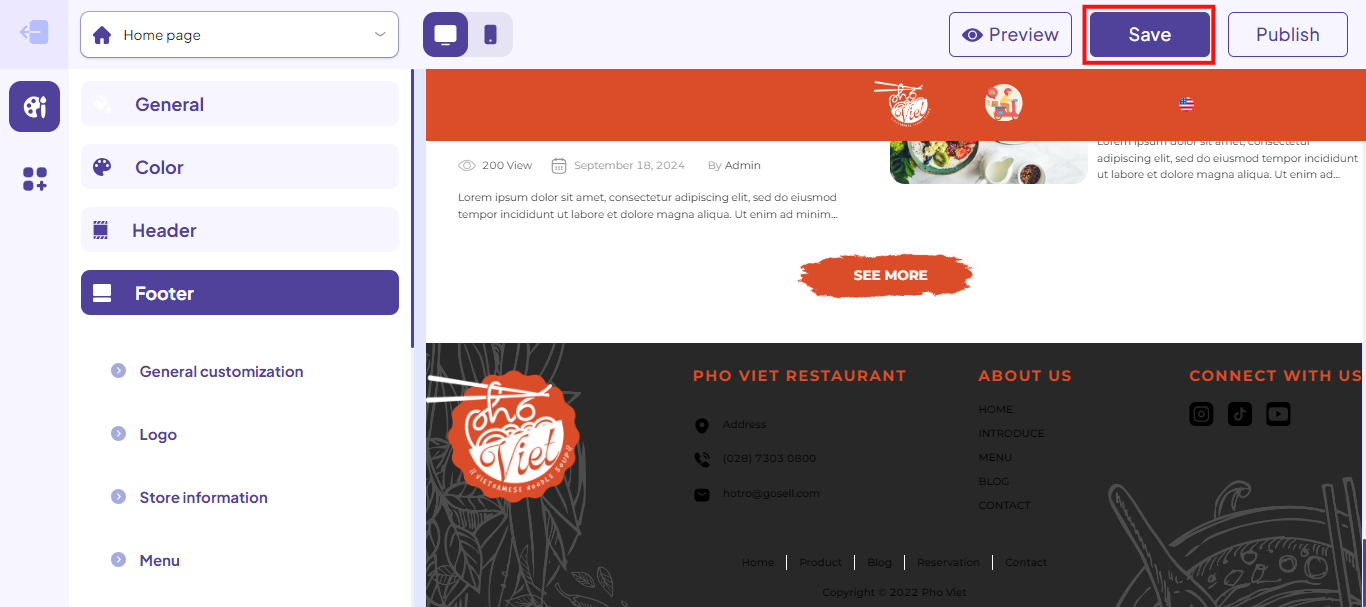
Step 11: Select the Save button to save the process you just completed.
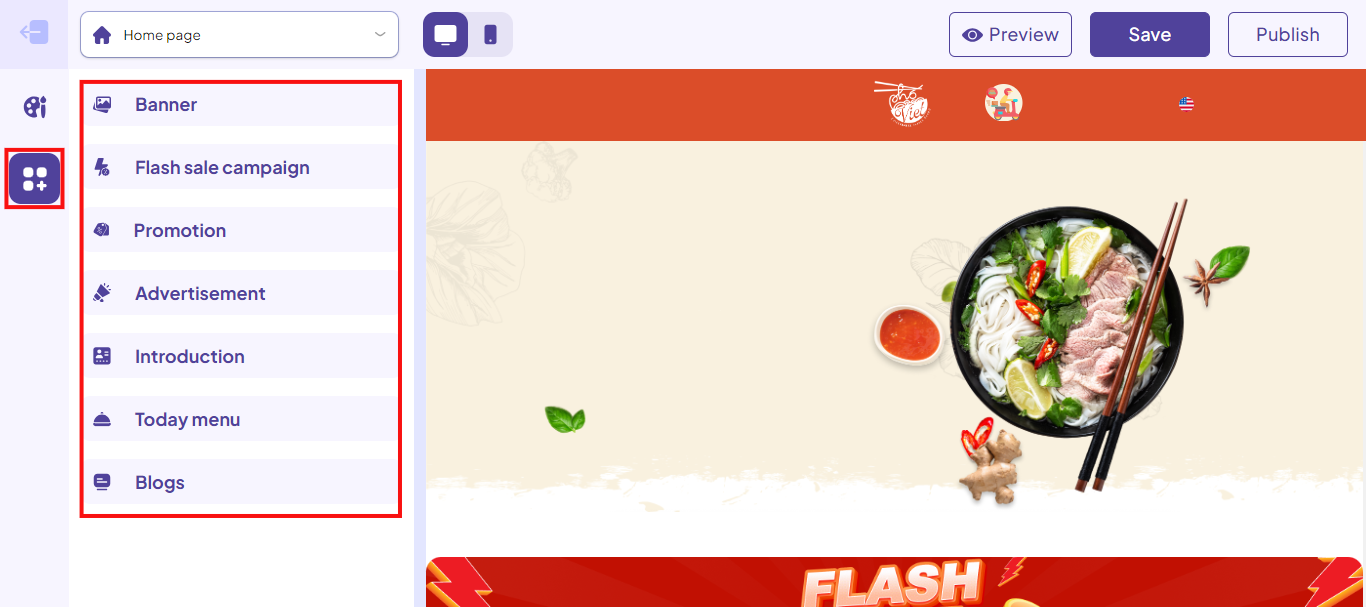
Step 12: Click on the second feature button on the vertical options bar on the left side of the screen, where you can display information that appears on the homepage such as:
- Slide show.
- Flash sale campaign.
- Promotion.
- Category.
- Best selling product.
- Signature product.
- Blogs.
Step 13: Select the Pushlish section to finish.

This is how to design the interface for the homepage. If you have any other questions or related inquiries, please contact our Customer Service team via email at [email protected].