
Create and manage the areas of each branch
Optimize your restaurant/diner’s efficiency and enhance customer satisfaction by creating and managing distinct areas within each branch.
Step-by-step guide:
Step 1: Go to the GoF&B admin page (https://admin.gofnb.biz/login).

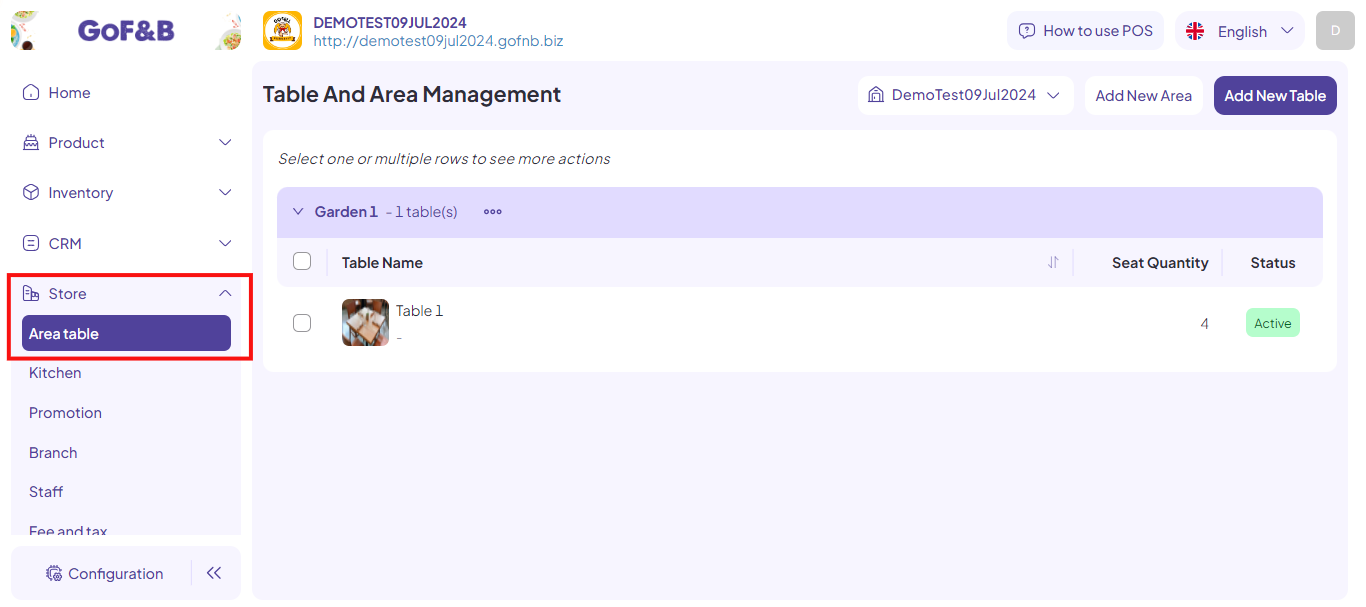
Step 2: In the admin page, go to Store, select Area table.
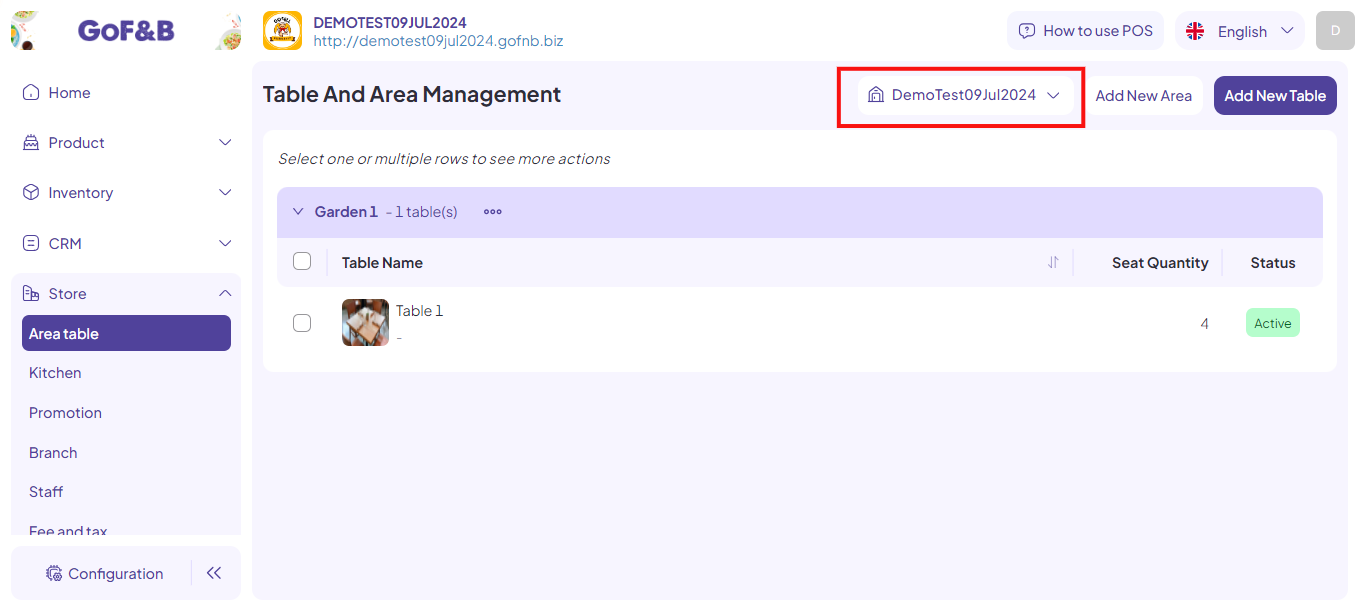
Step 3: Select the branch for which you want to create an area in the house icon.
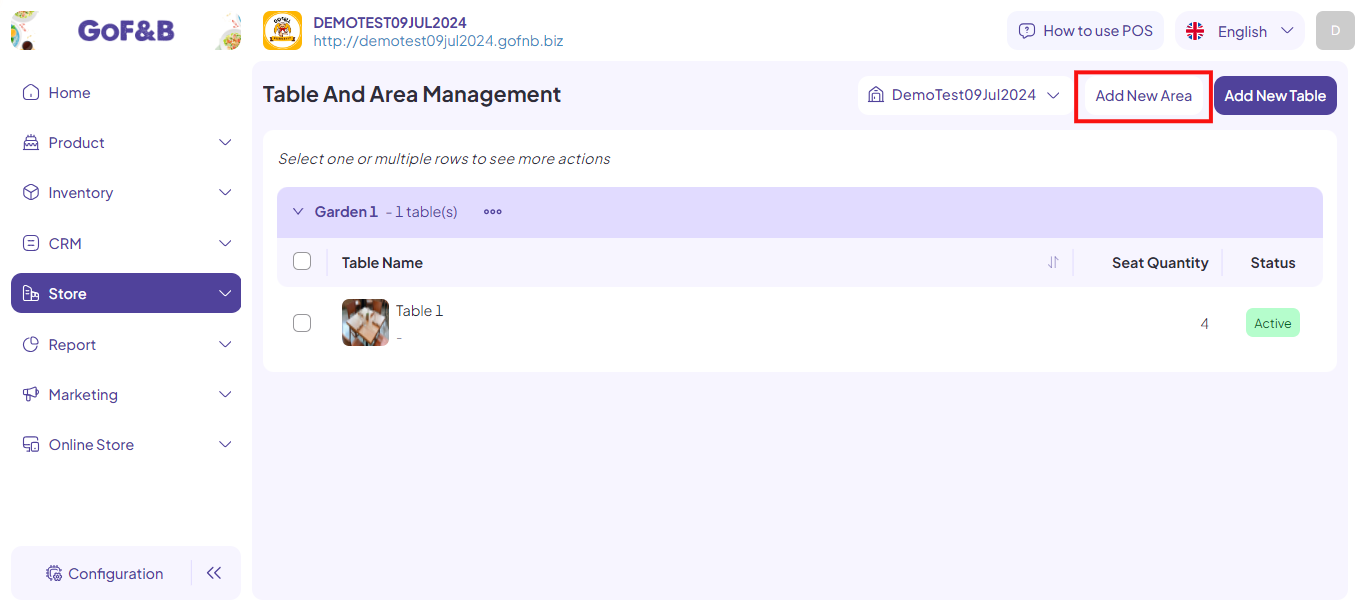
Step 4: Select Add New Area.
Step 5: Complete the fields in the Add New Area form, including:
- Area Name.
- Description.
- Area Image.
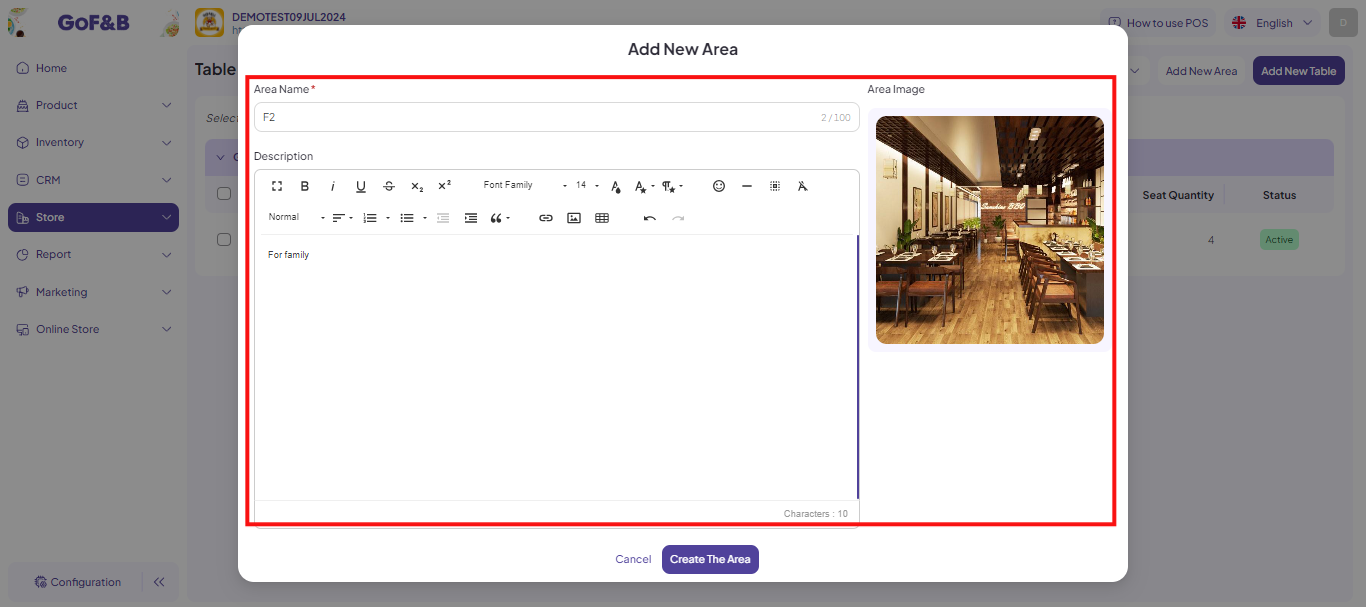
Step 6: Tap Create The Area to be done.

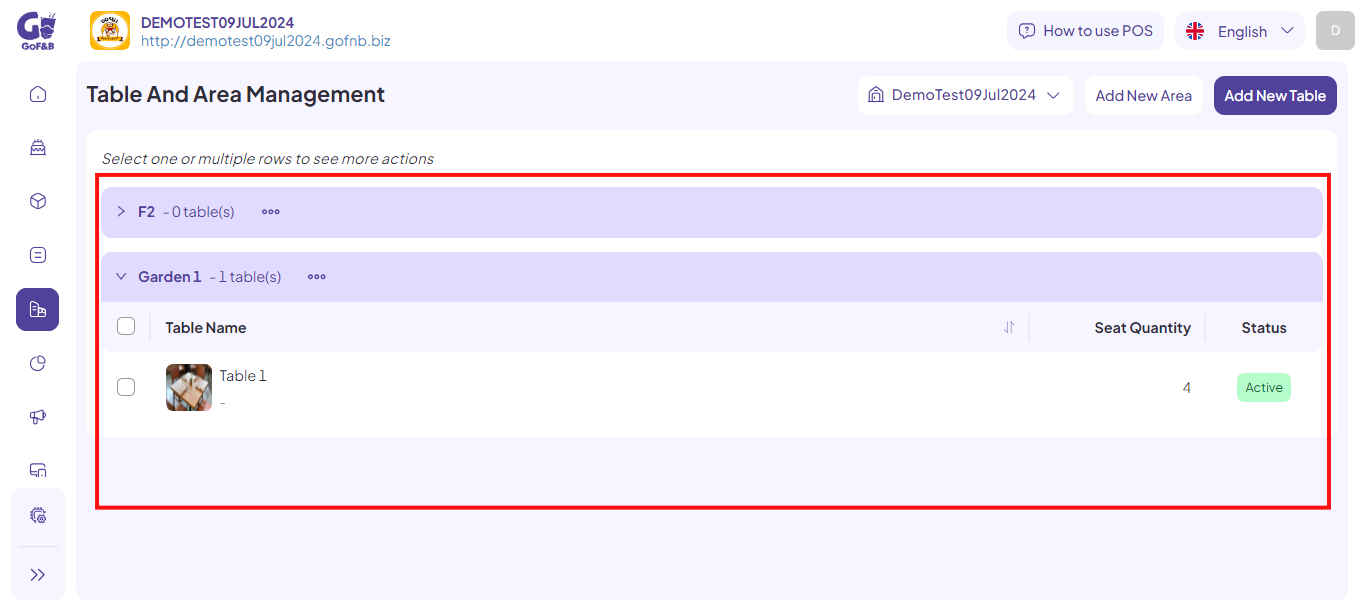
Step 7: Go back to the Table And Area Management. Here, you can oversee each area you’ve established for each branch, each of which has a certain amount of tables.
So you know how to create and manage the areas of each branch? If you have any other questions or related inquiries, please contact our customer service team via email at [email protected].