
Configure printer and barcode stickers (QR code) template
GoF&B allows you to easily print and manage product barcode stickers. This helps automate the checkout process, accurately track inventory, and improve the efficiency of restaurant/ food service management.
The process is as follows:
Configure printer
Step 1: Log in to the POS Web system at: https://pos.gofnb.biz/login/.

Step 2: Click on the expand button on the screen.
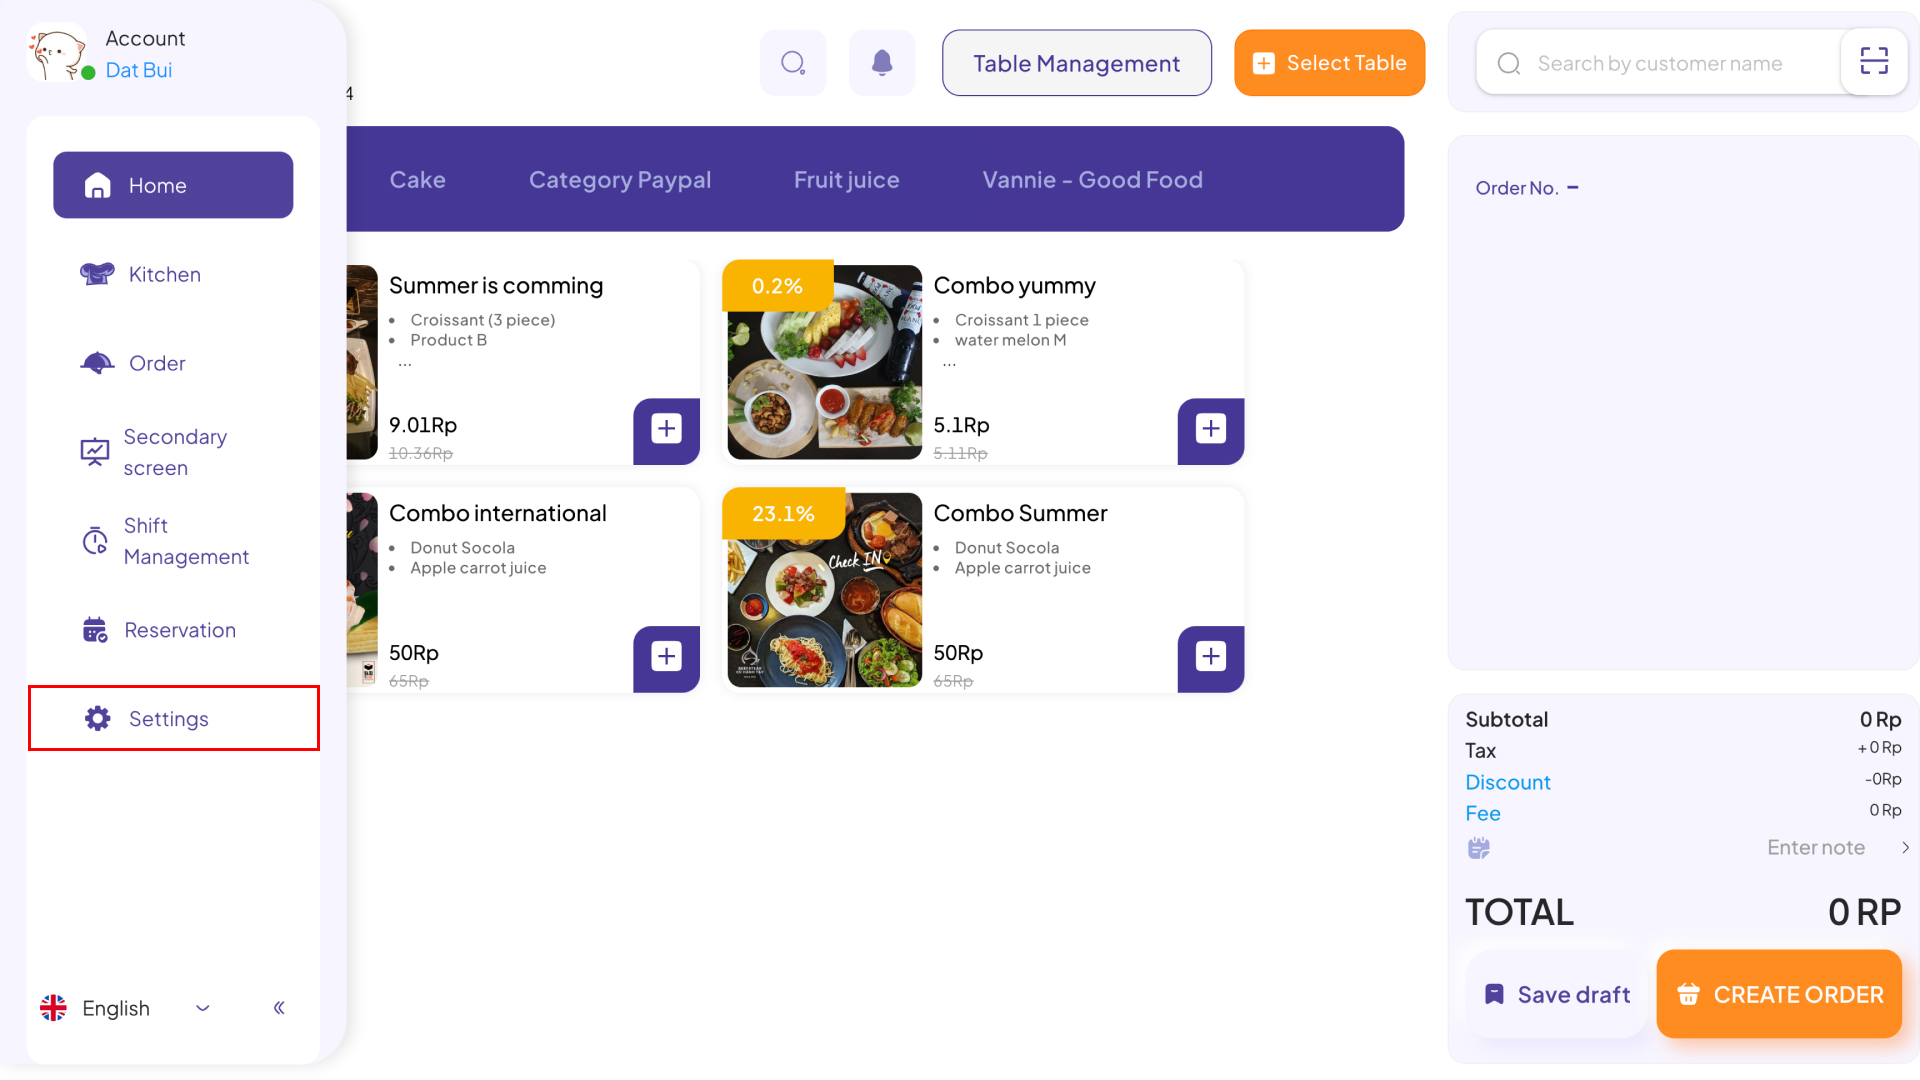
Step 3: Next, select Setting.
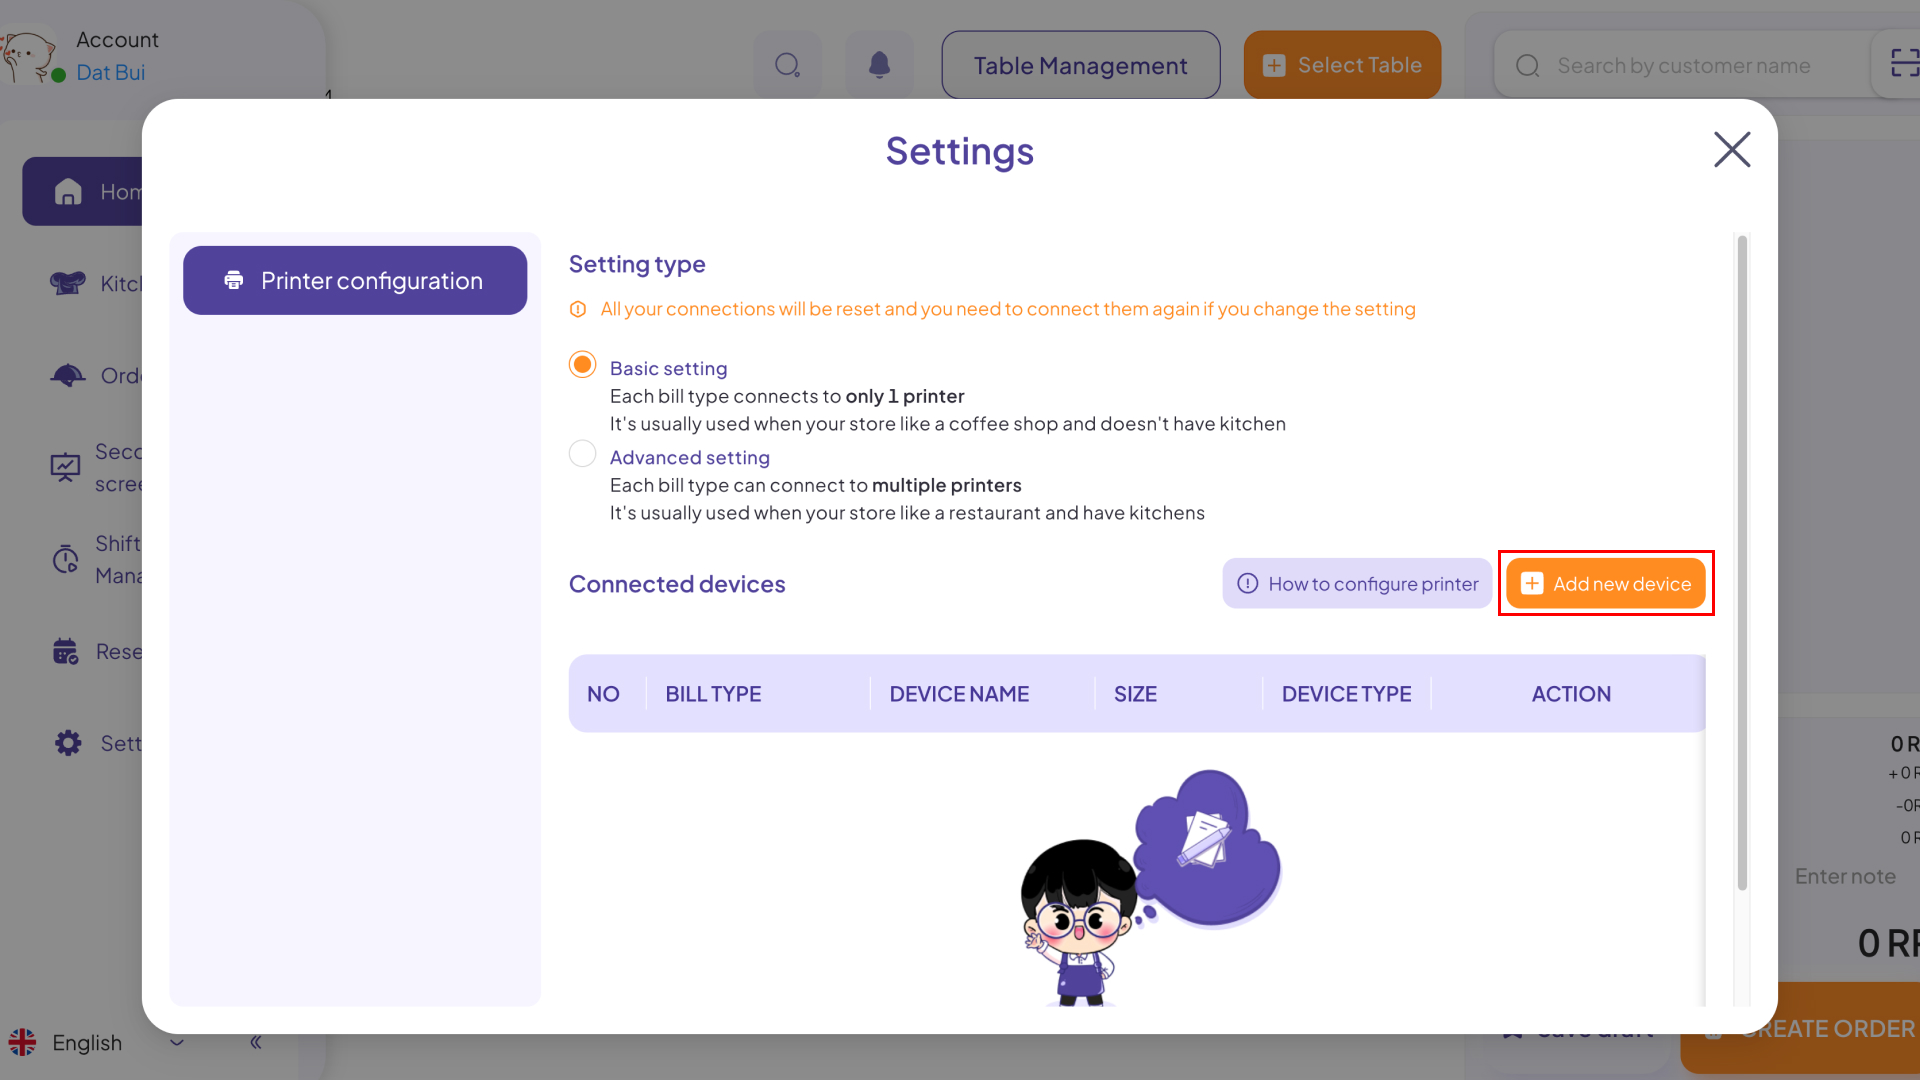
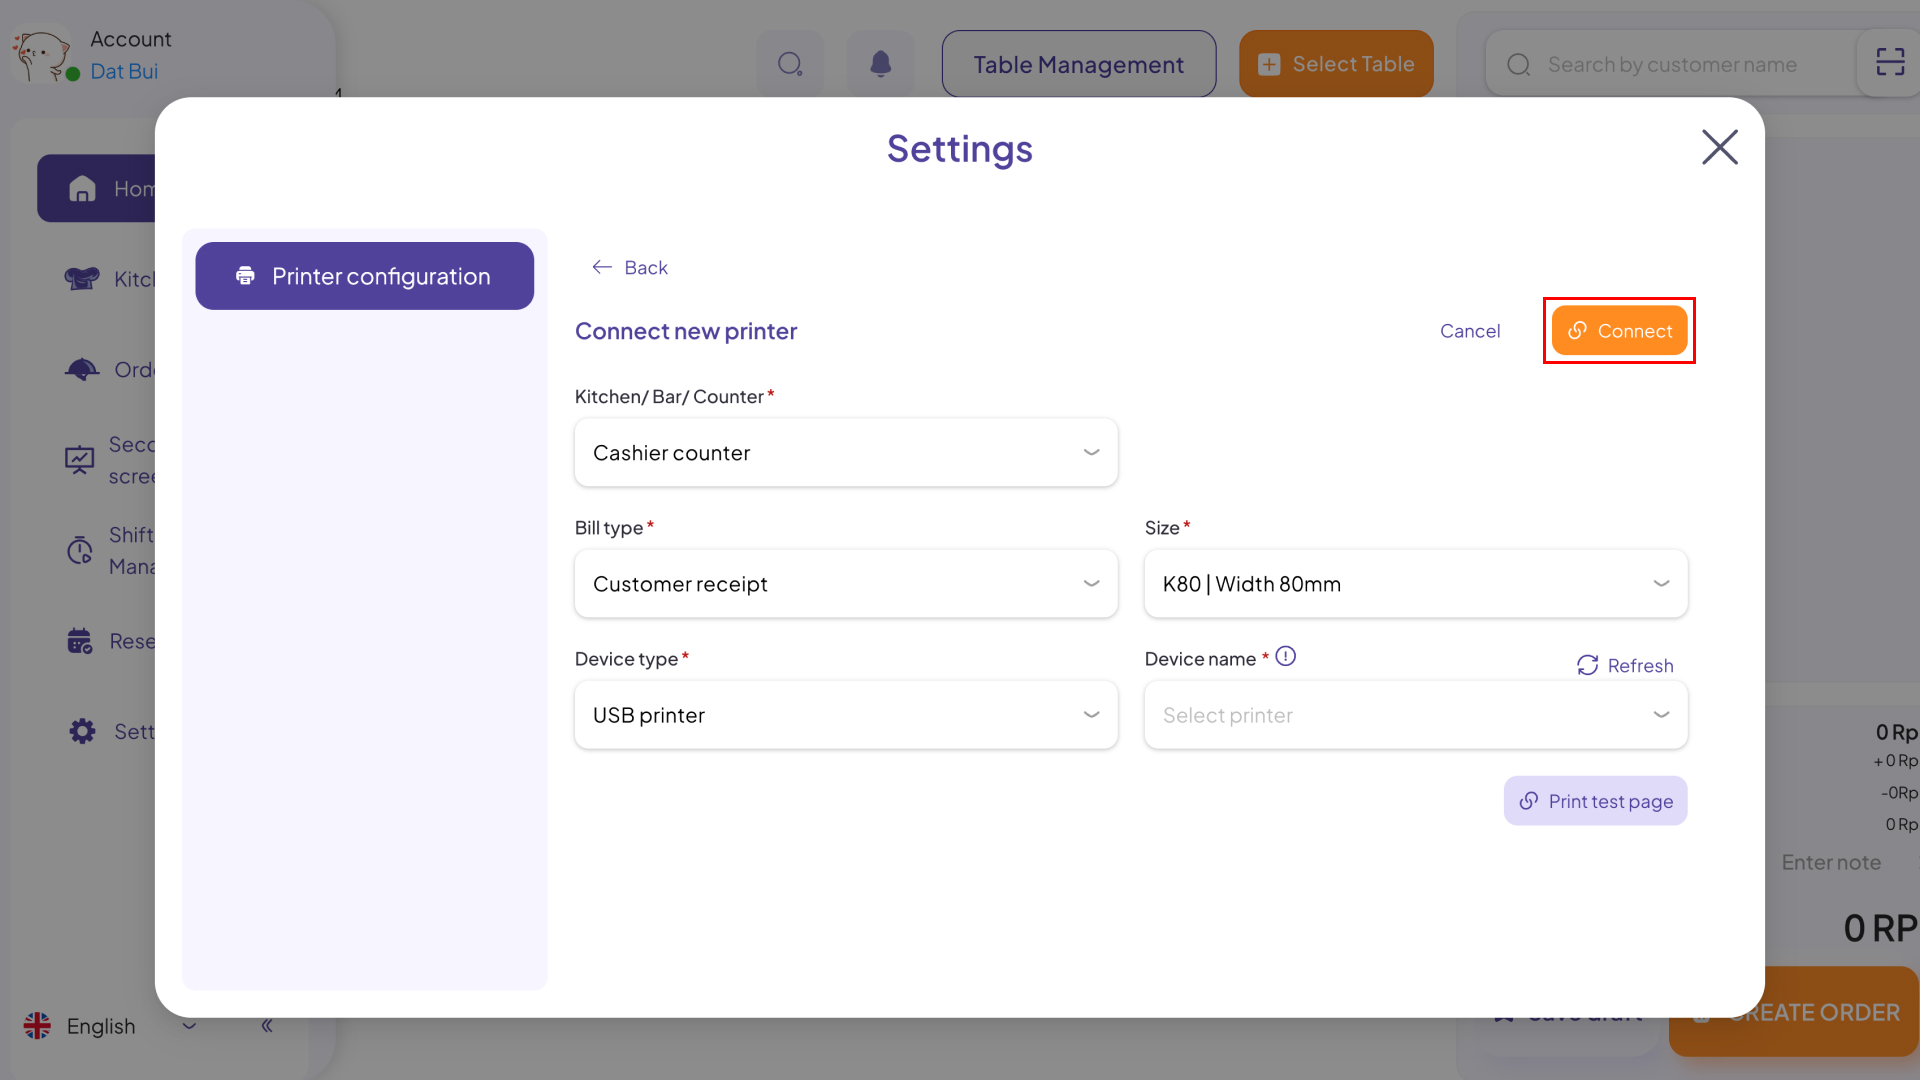
Step 4: Click on Add new device.
Step 5: Provide the required information, including:
- Kitchen/ Bar/ Counter: Cashier counter.
- Bill Type: Choose Product Barcode.
- Size: Select from the following options:
- 1 stamp: 40×25 mm, 50×30 mm, 50×40 mm.
- 2 stamps: 35×22 mm.
- Device Type: USB printer, LAN printer, Bluetooth printer.
- Device Name: Use the search function to find the connected printer.
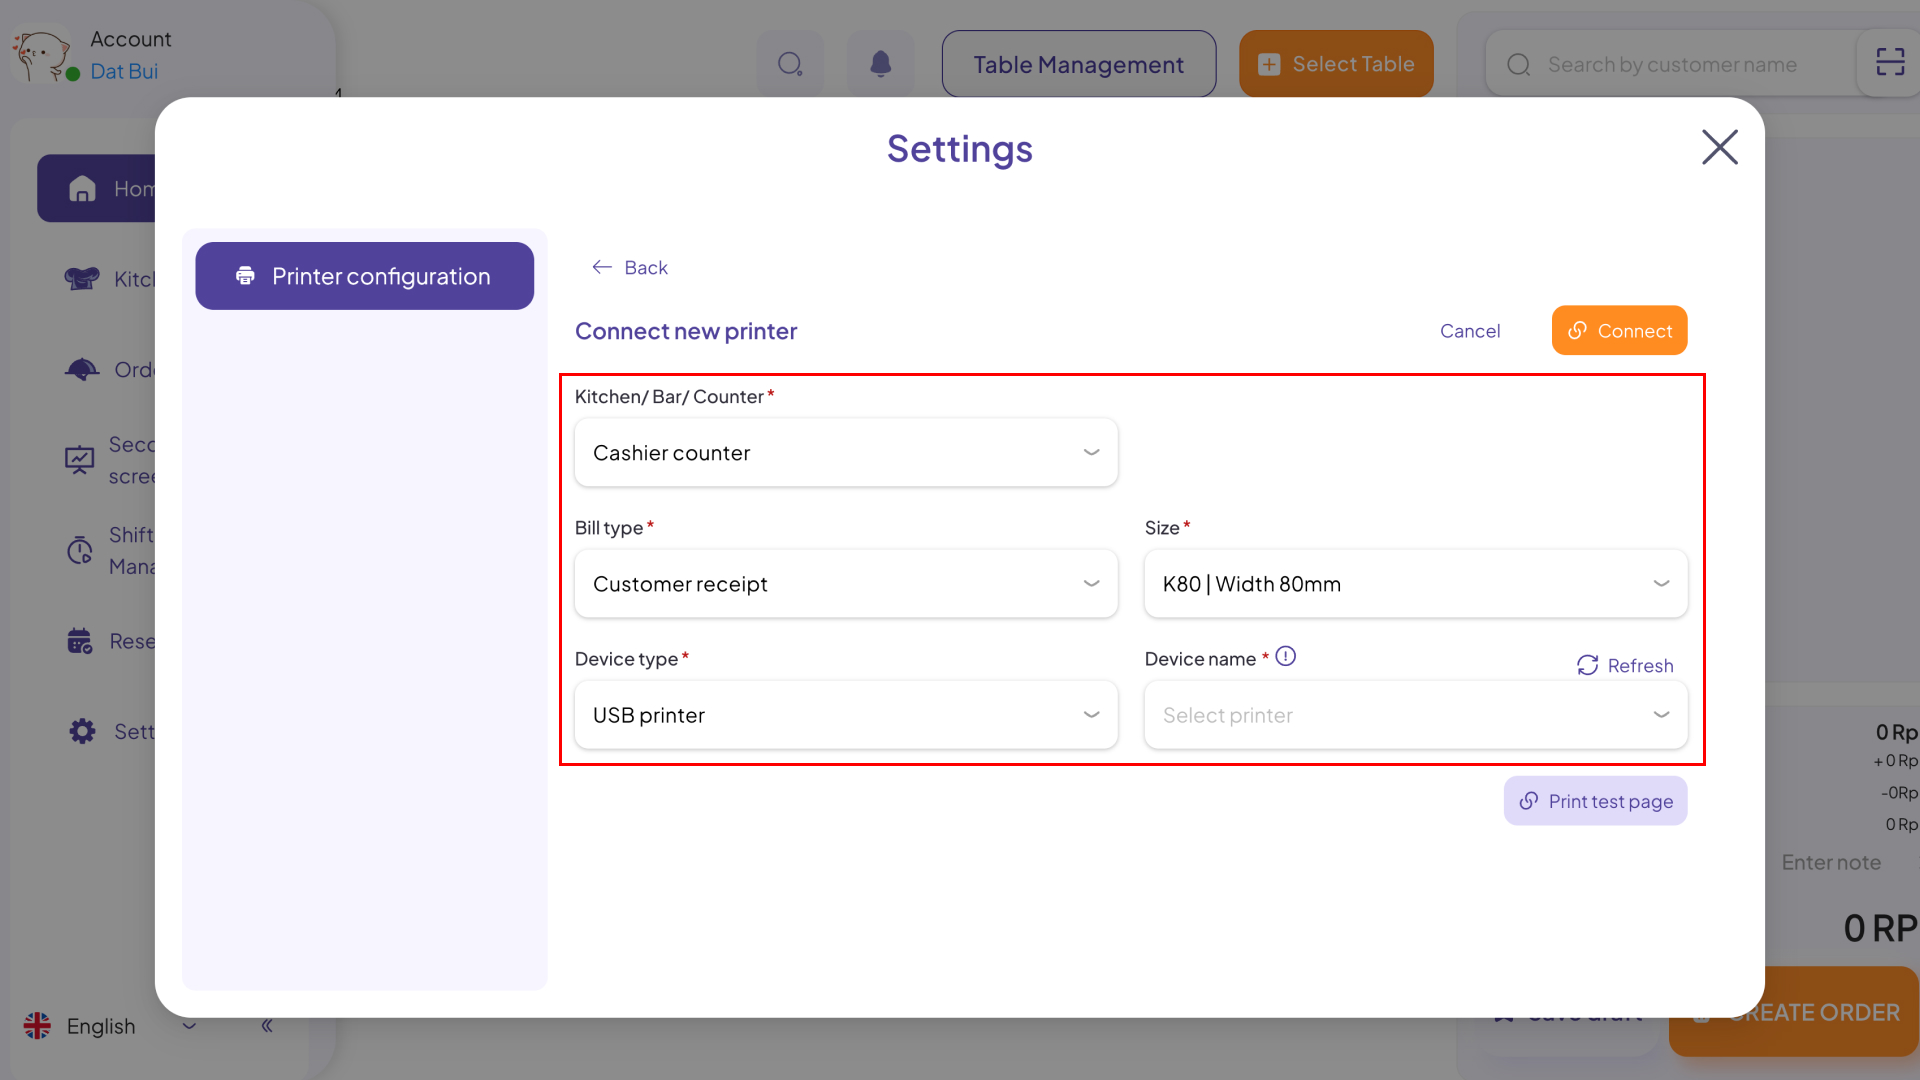
Step 6: Finally, click Connect.
Configure barcode stickers template
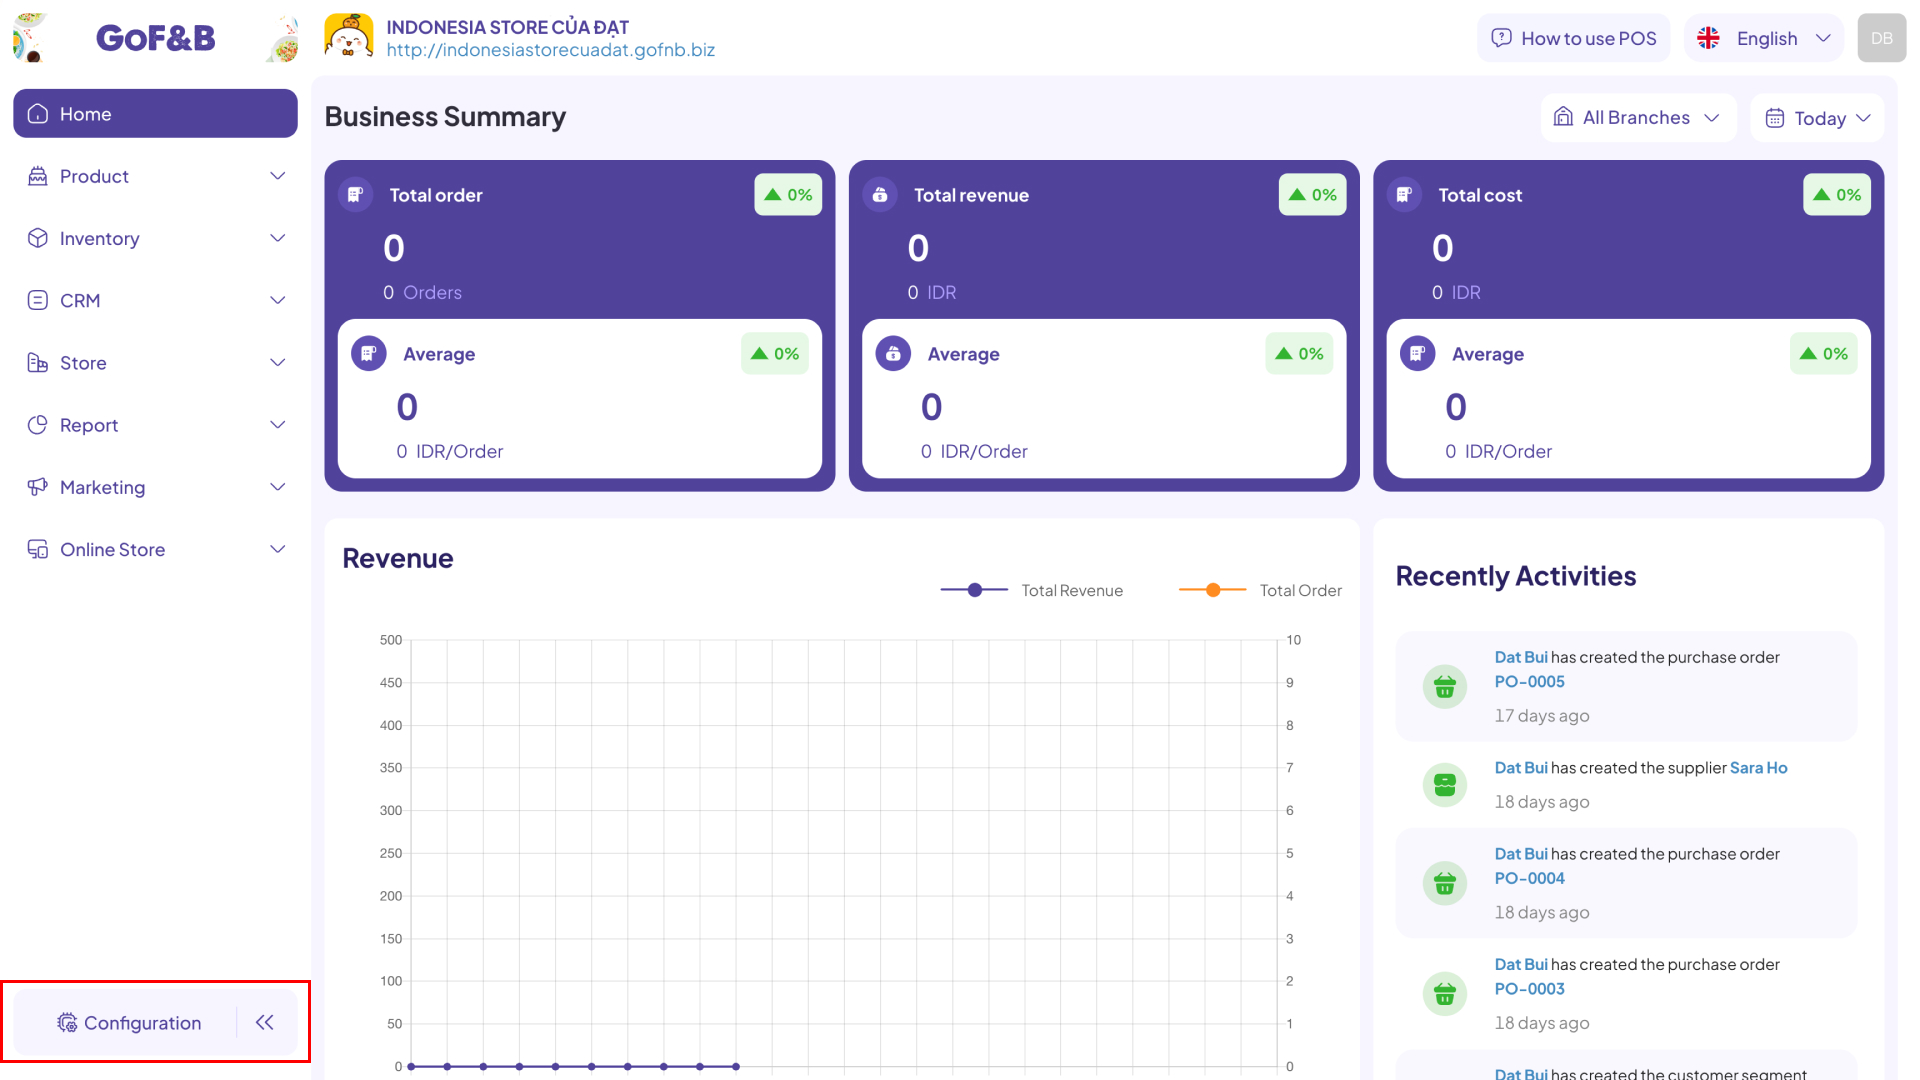
Step 1: Access the GoF&B Admin Page: https://admin.gofnb.biz/.
Step 2: In the admin interface, click on Configuration.
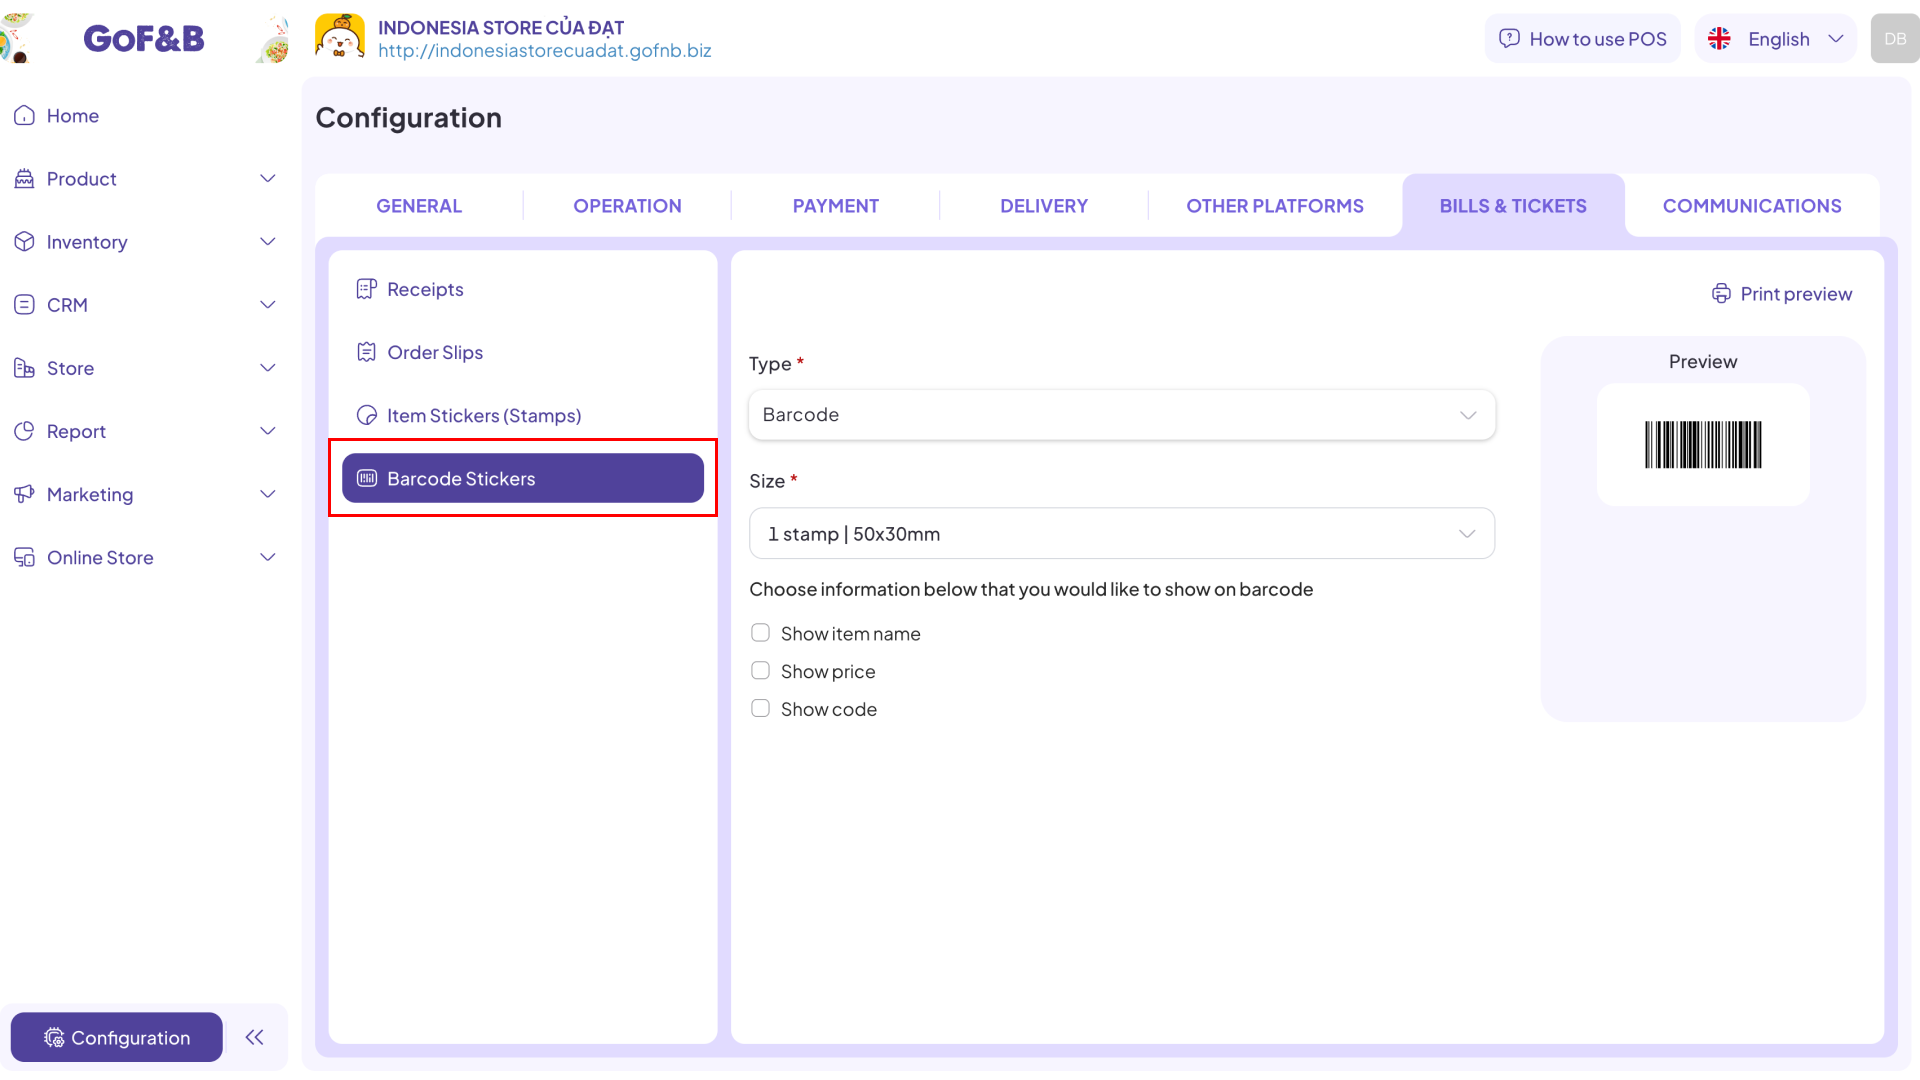
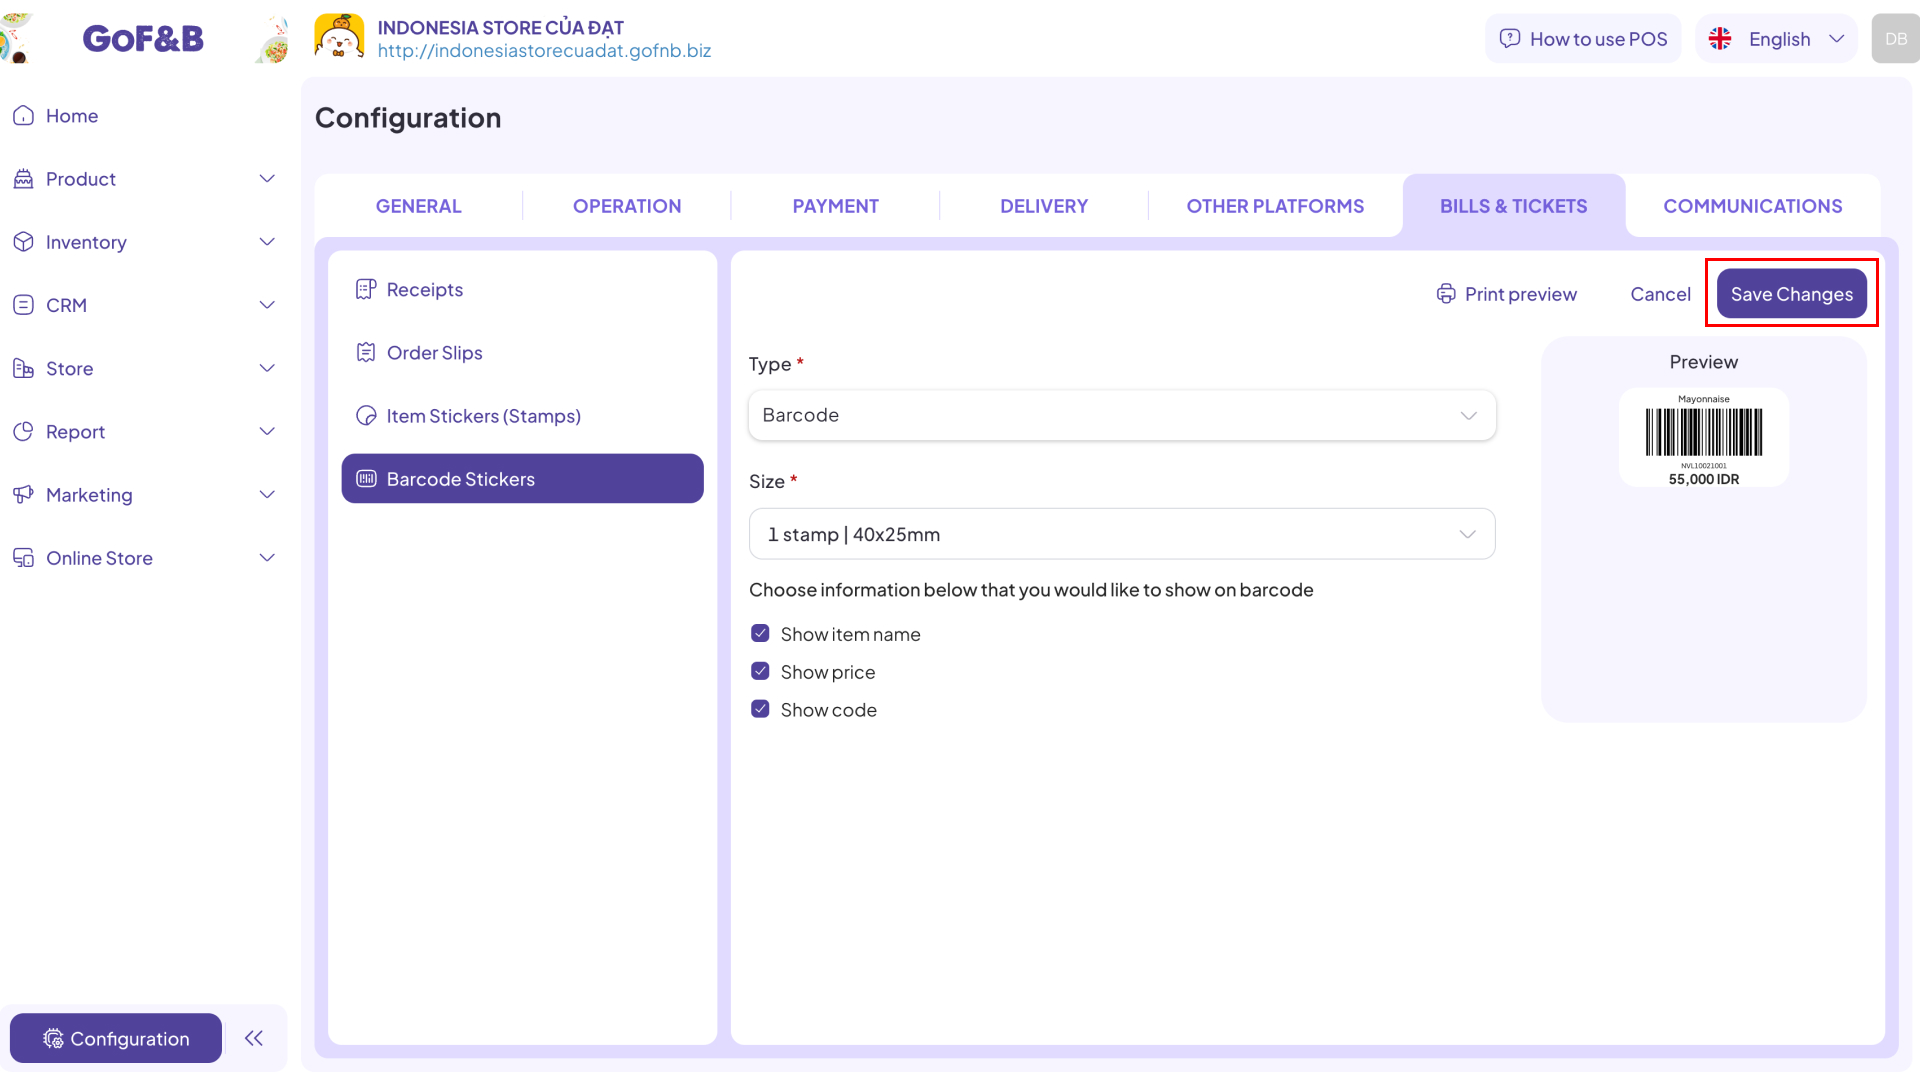
Step 3: Select BILLS & TICKETS to configure the barcode stickers interface.
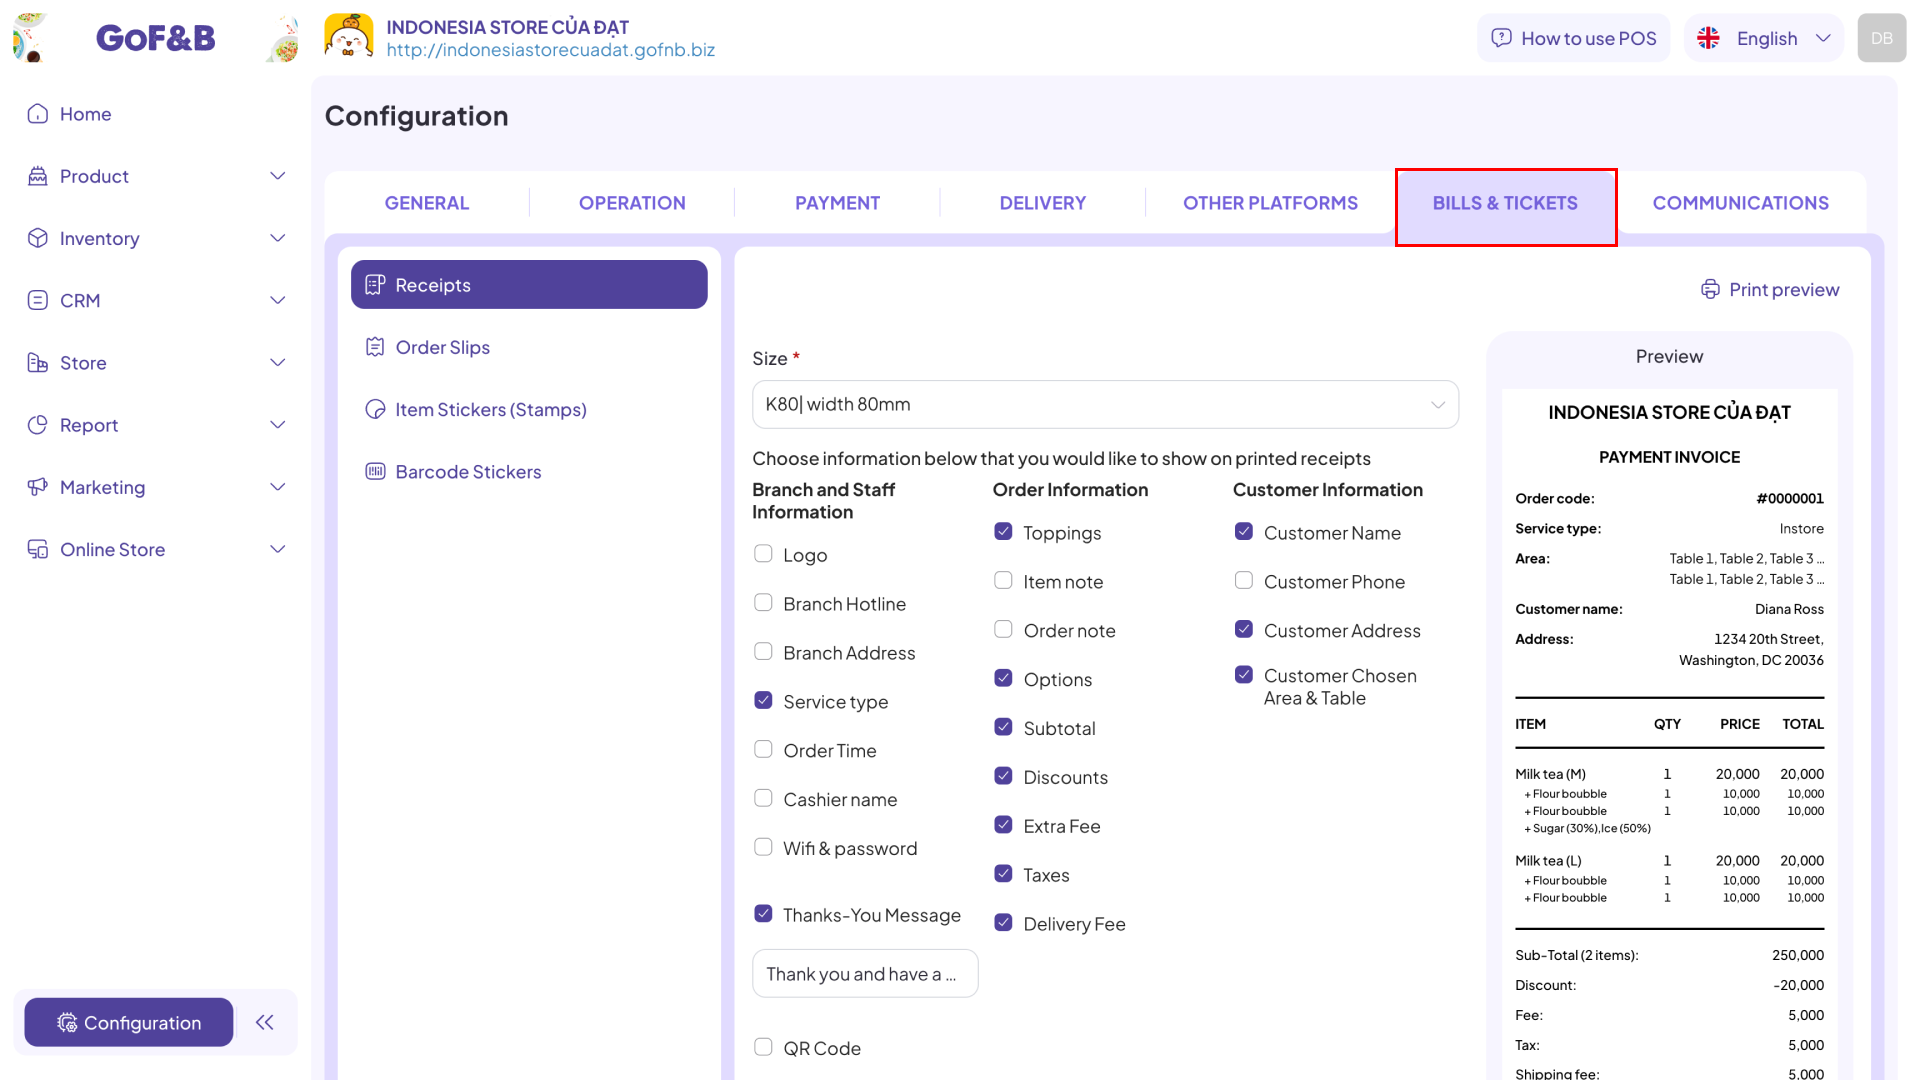
Step 4: Choose Barcode stickers and update the following information:
At Type section, select either Barcode or QR code.
At Size section, you choose from the options:
- 1 stamp:
- 40×25 mm.
- 50×30 mm.
- 50×40 mm.
- 2 stamps:
- 35×22 mm.
Then, choose the information you want to display on the barcode label by checking the appropriate options.
- Show item name.
- Show price.
- Show code.
Note: You can click Preview to review the barcode sticker interface before saving.
Step 5: Finally, click Save Changes to finish the process.
This is the guide for configuring printer and barcode stickers template on GoF&B. If you have any questions or related inquiries, please contact GoF&B Customer Support via email at [email protected].